Donate
English
Español
Search
Sign in
Find native plants
Search native plants
Find butterflies
Design & inspiration
Why native plants
Support wildlife
Save water
Adapt to climate change
Garden like nature
Garden gallery
Design ideas
Garden planner
Find nurseries
Care for your garden
Planning your garden
Plant selection
Planting your garden
Watering native plants
Weed & pest control
Find landscape professionals
About us
Our vision
Our data
About Calscape
I'm searching for
near
my location
Search
< Back to Search
< Back to plant detail page
Items per page
20
60
100
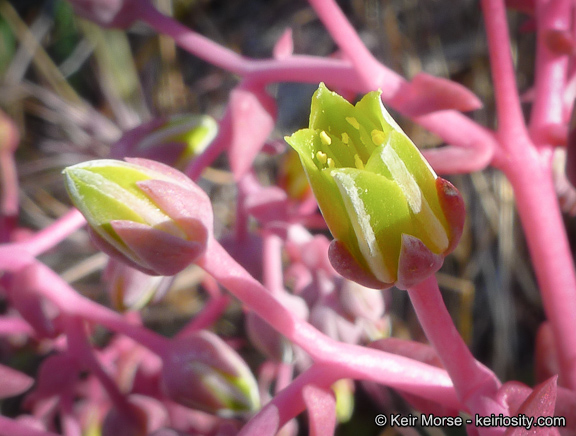
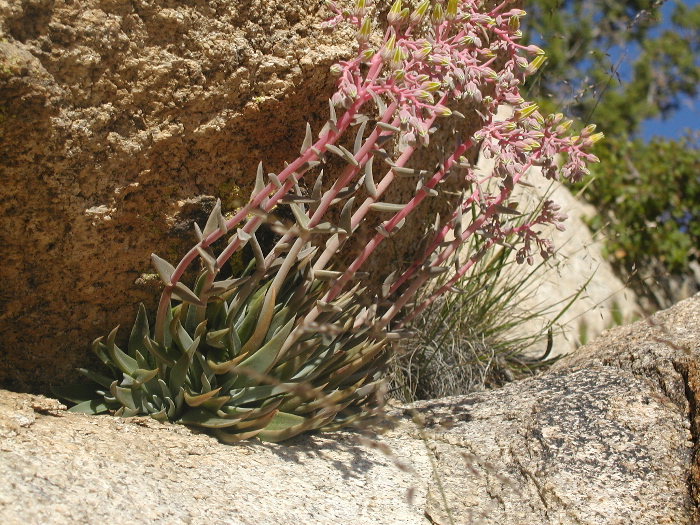
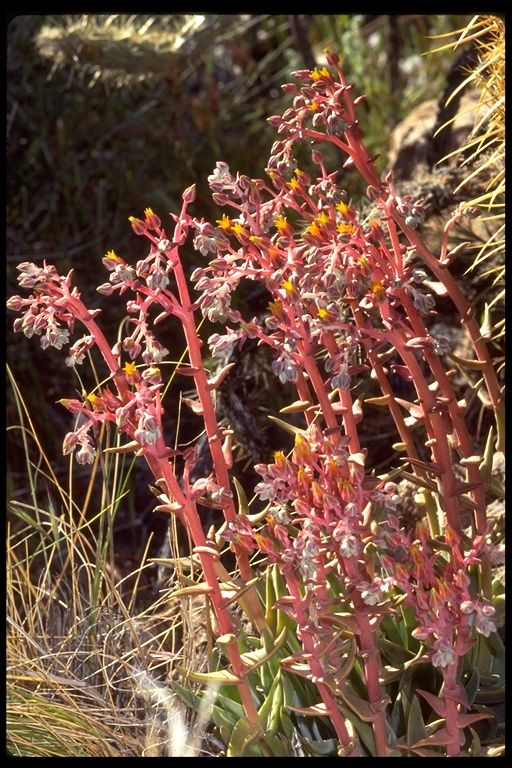
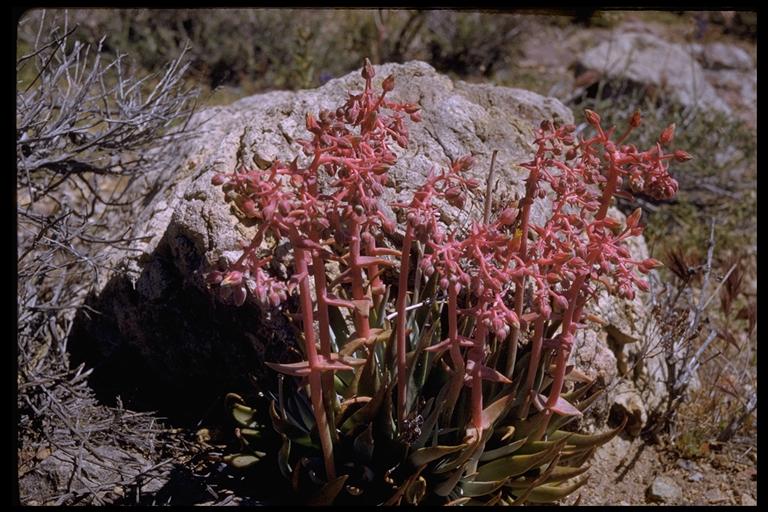
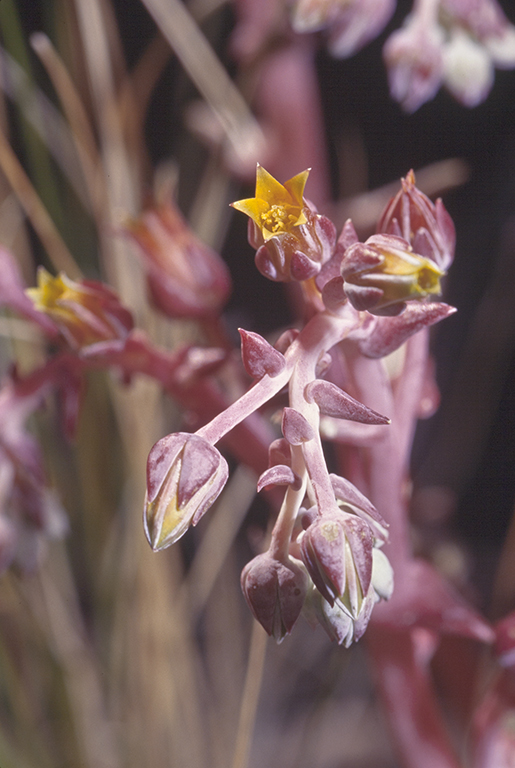
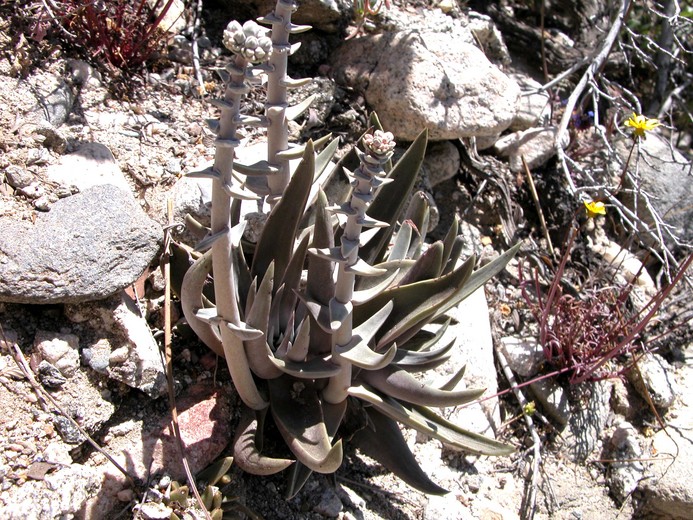
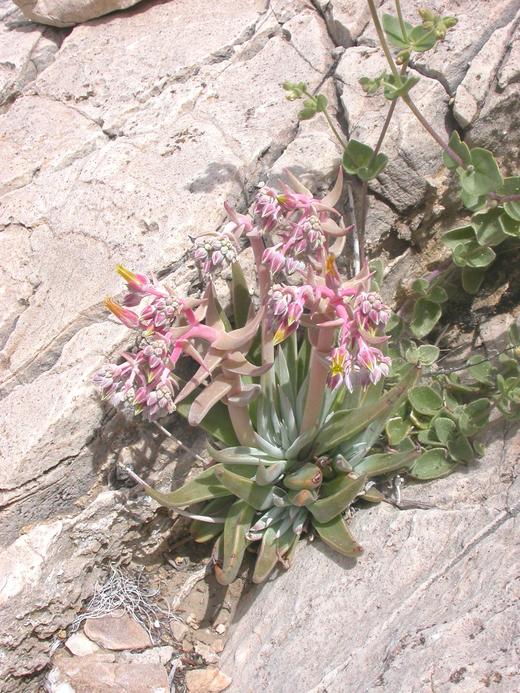
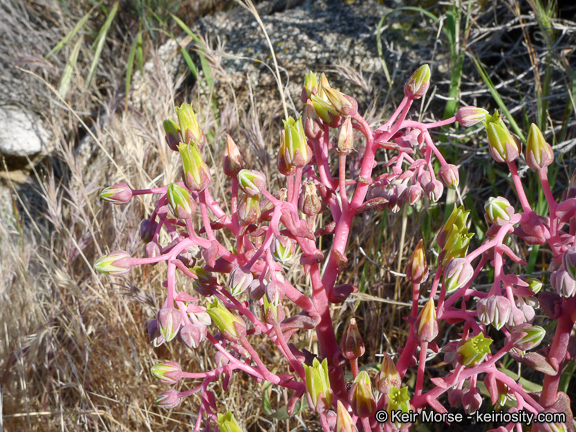
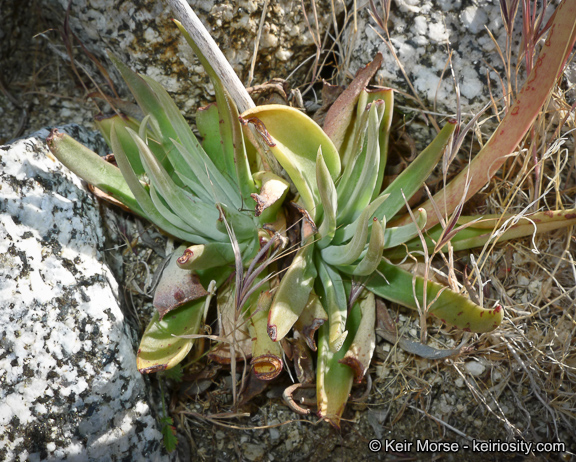
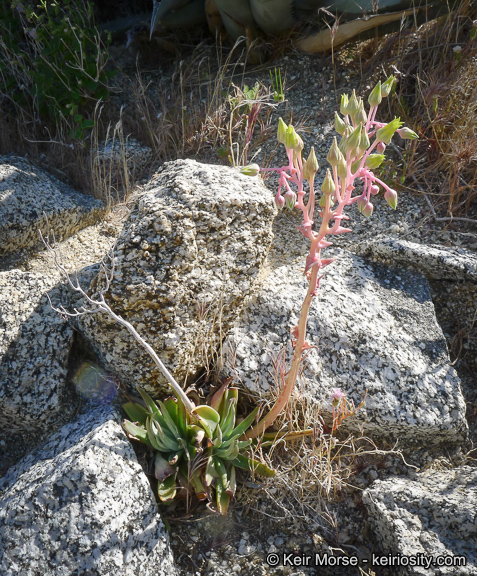
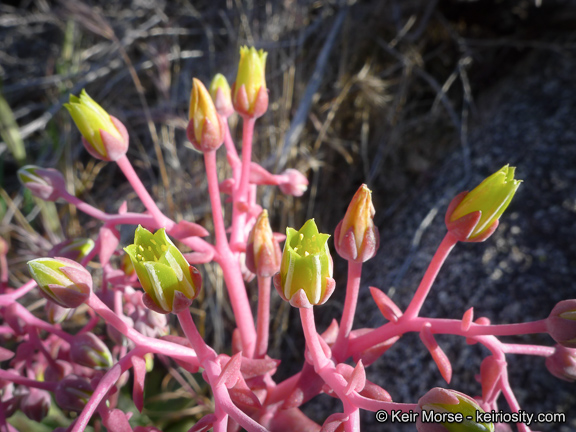
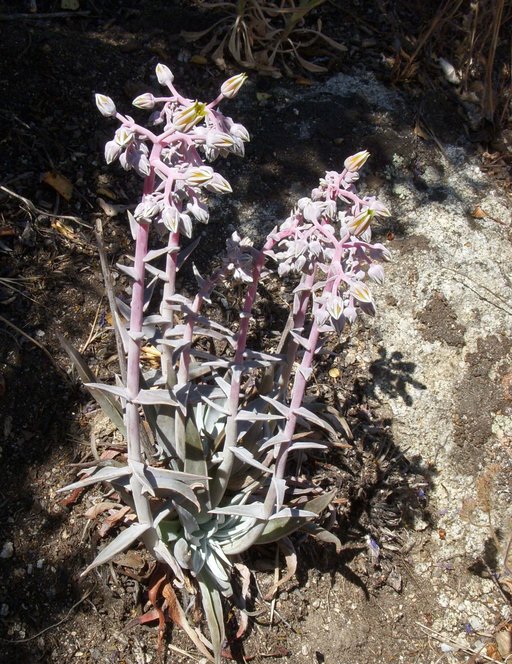
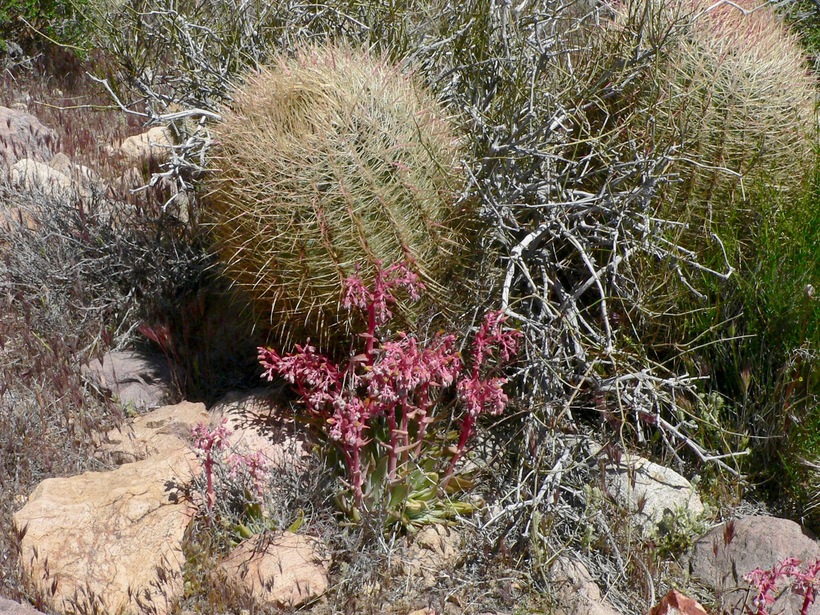
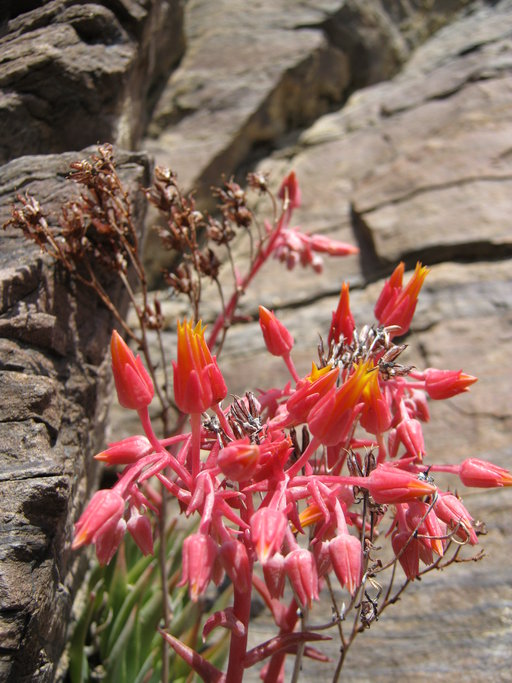
Panamint Dudleya
1 | 46 photos
Swipe
Photographed by
Keir Morse
View Copyright Note
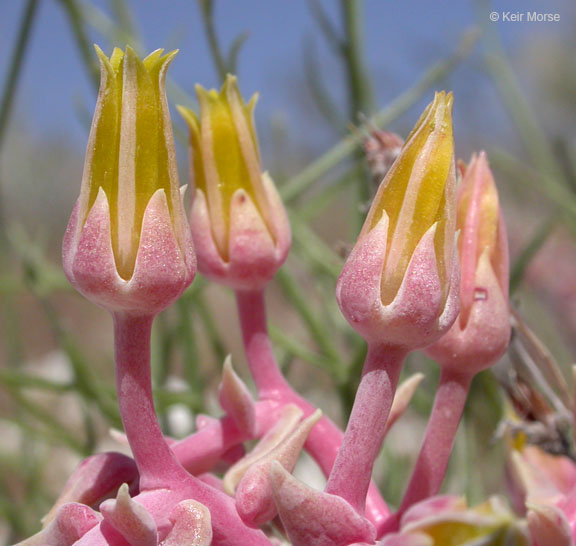
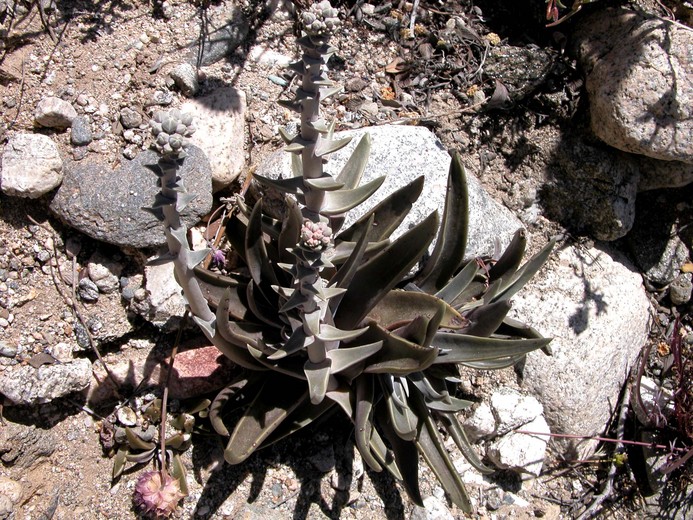
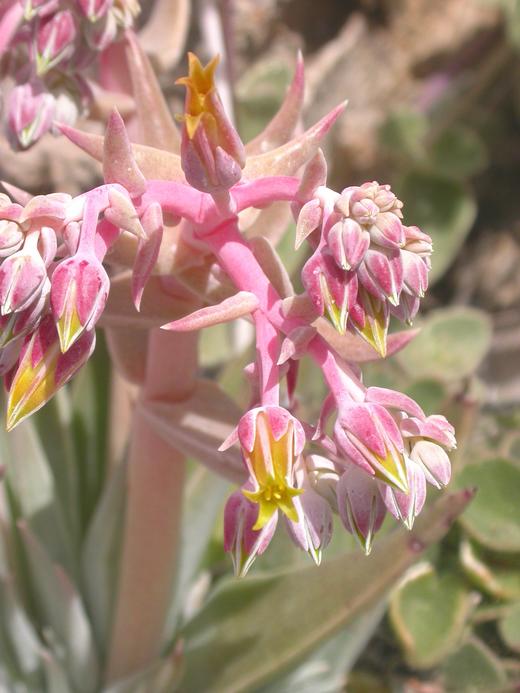
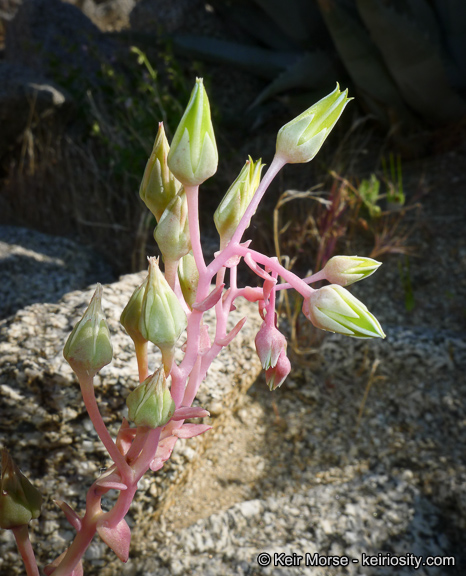
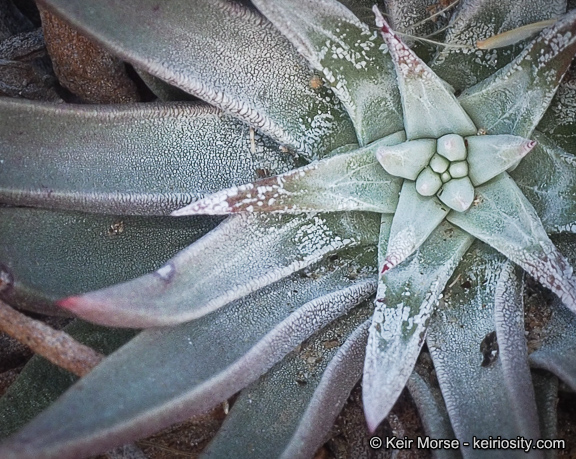
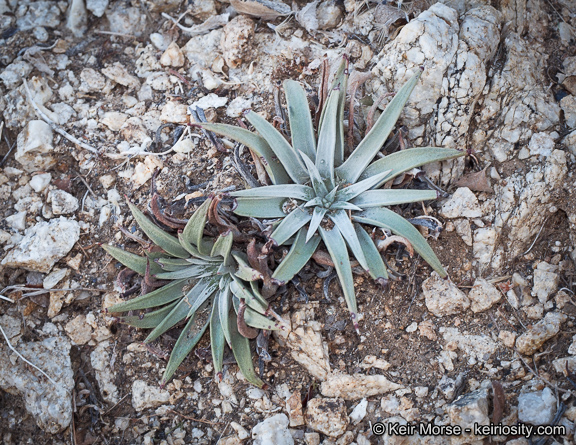
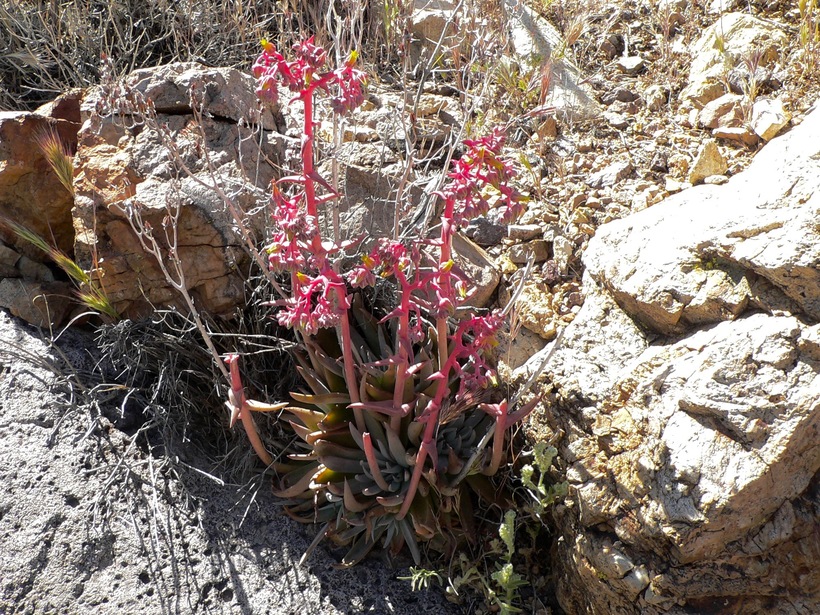
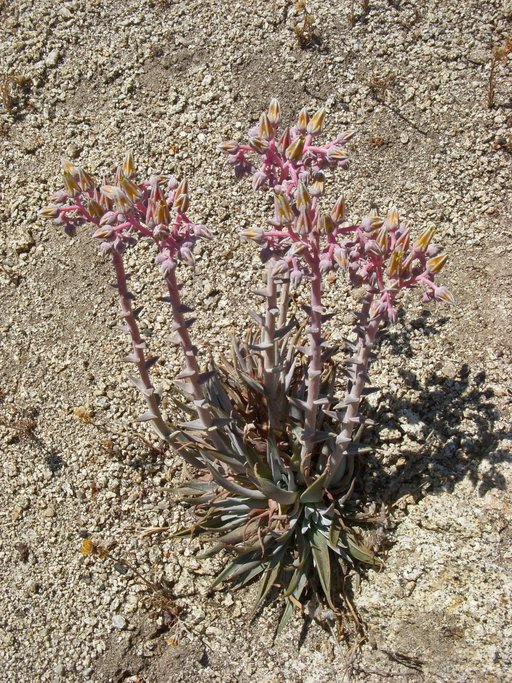
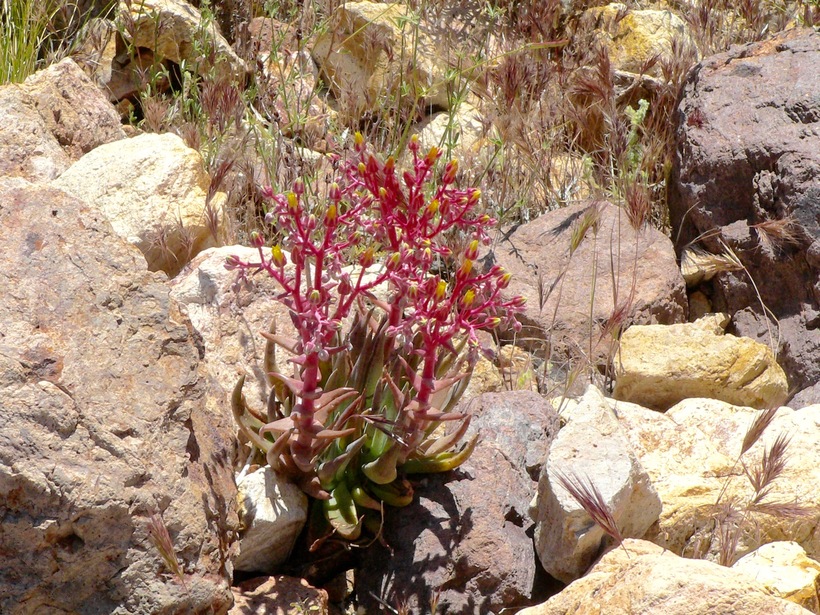
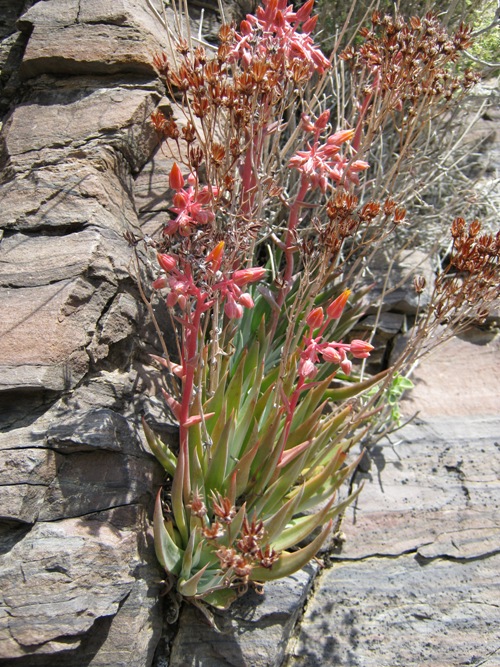
Panamint Dudleya
2 | 46 photos
Swipe
Photographed by
Keir Morse
View Copyright Note
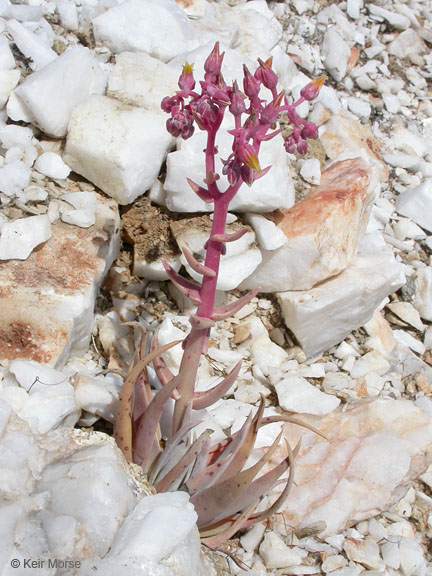
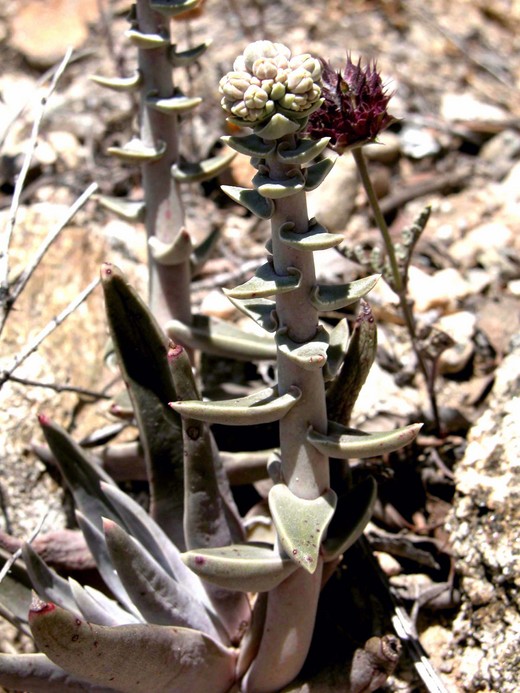
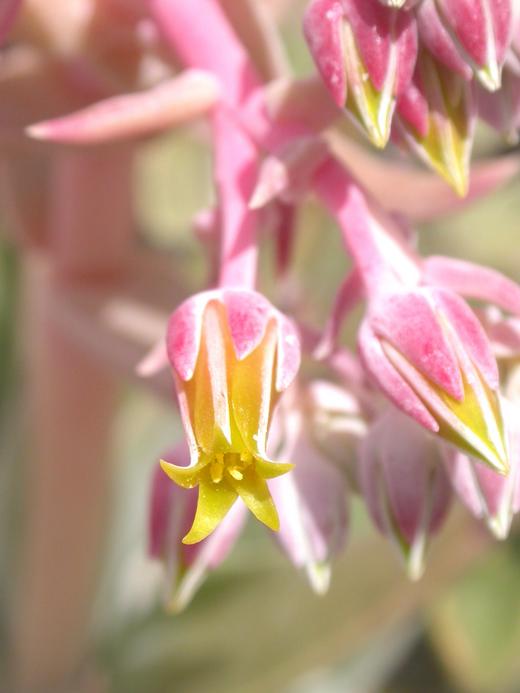
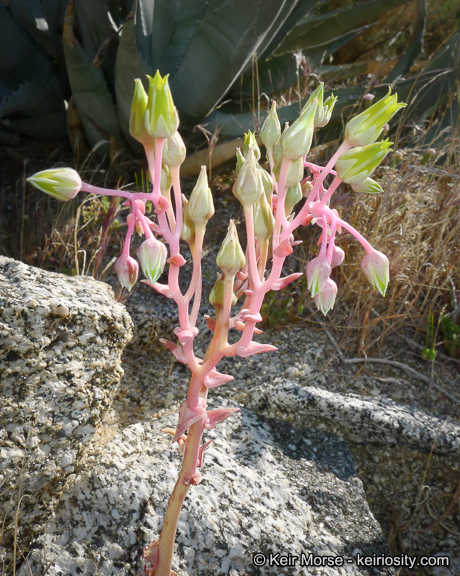
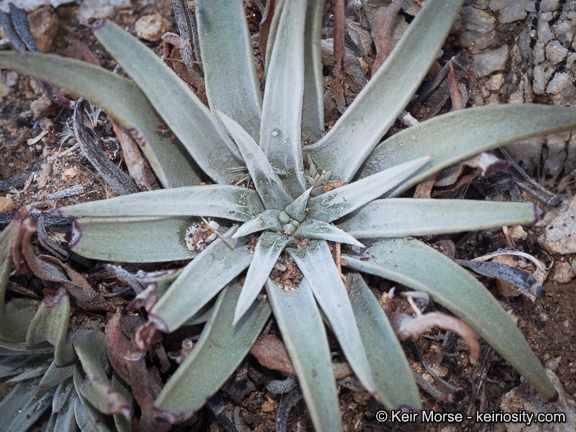
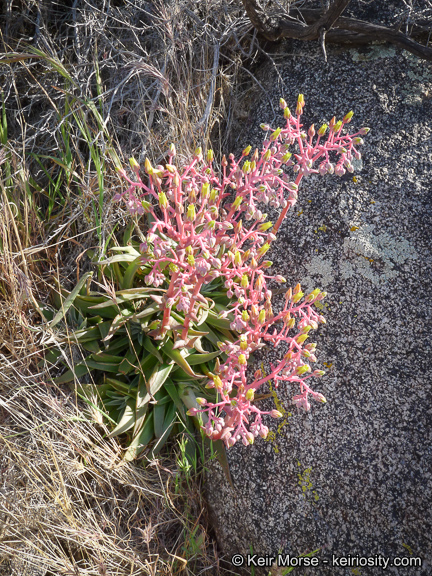
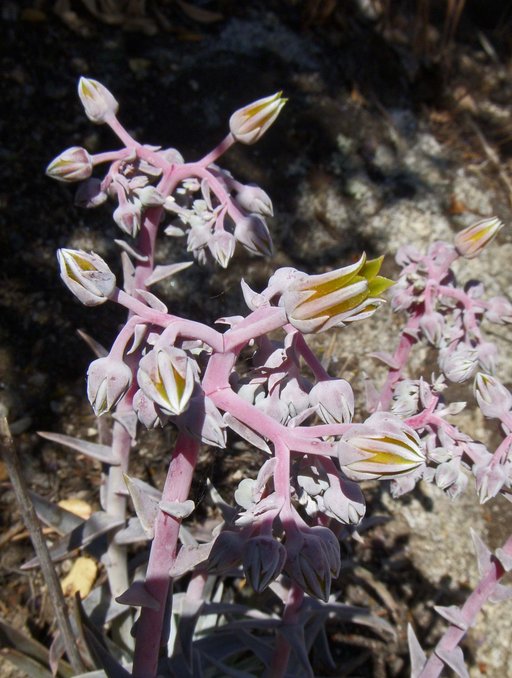
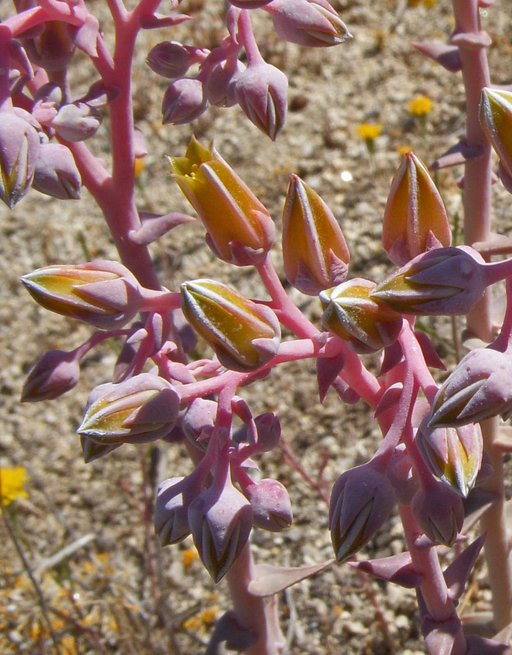
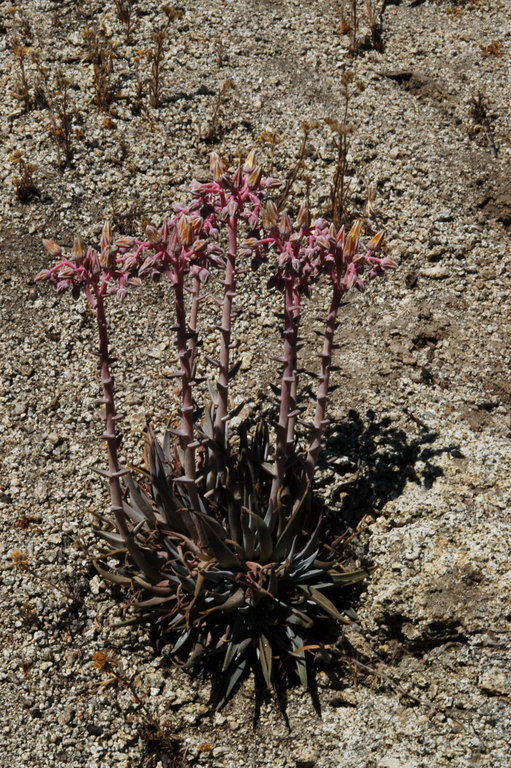
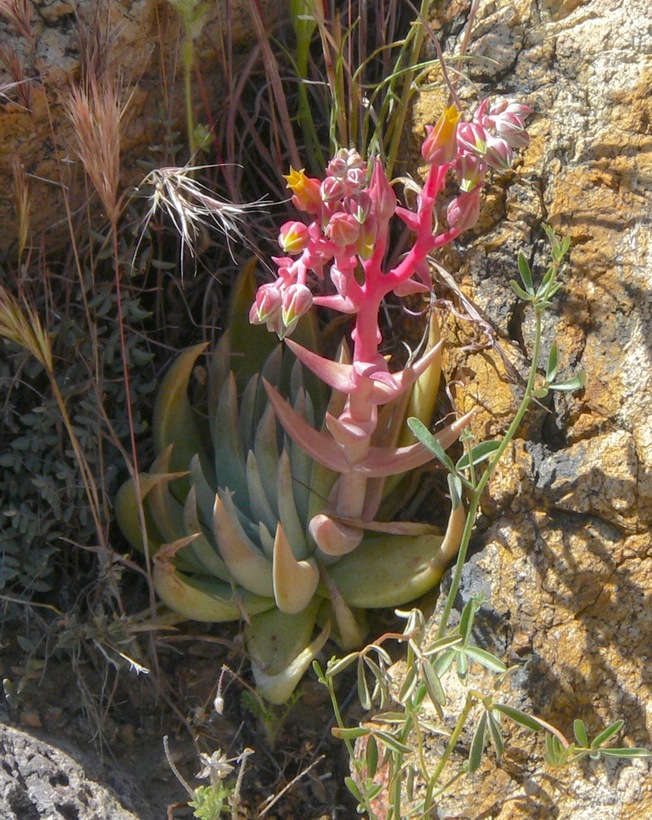
Panamint Dudleya
3 | 46 photos
Swipe
Photographed by
Keir Morse
View Copyright Note
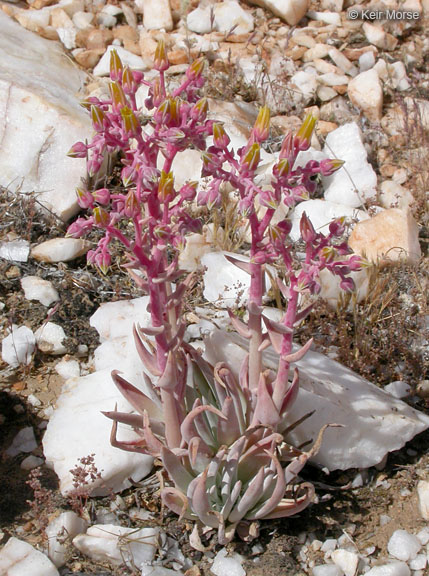
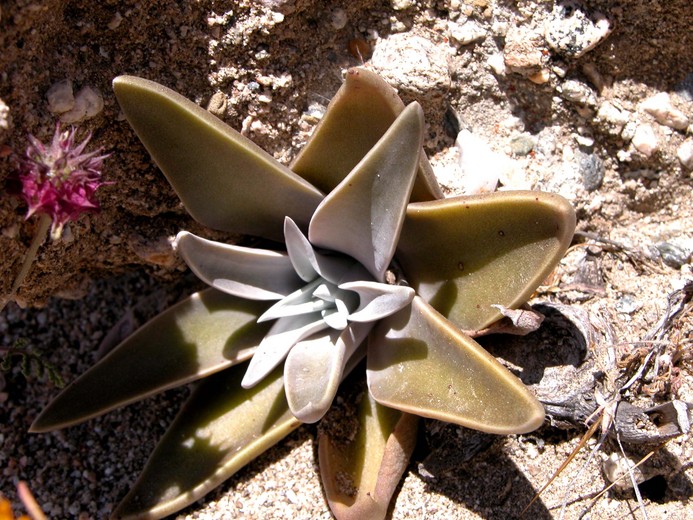
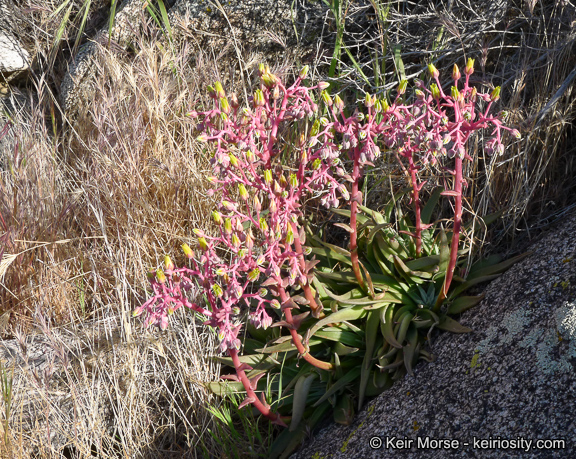
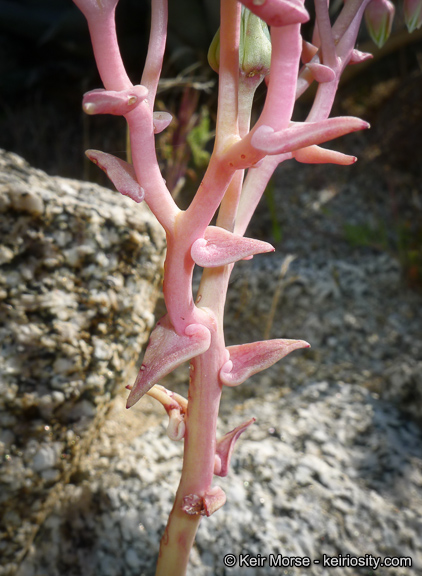
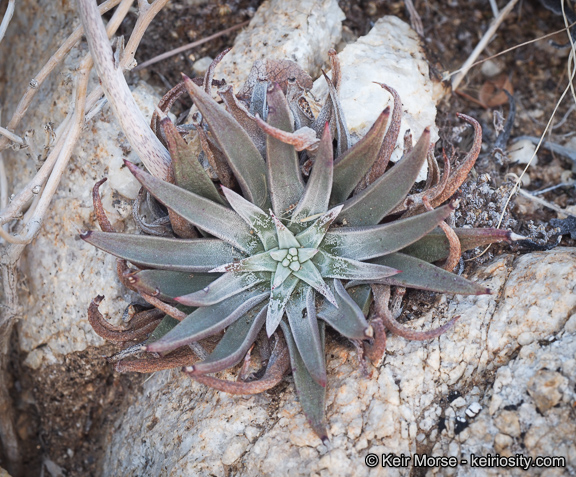
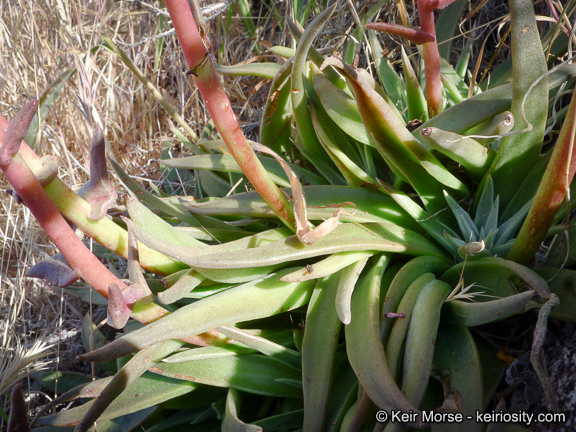
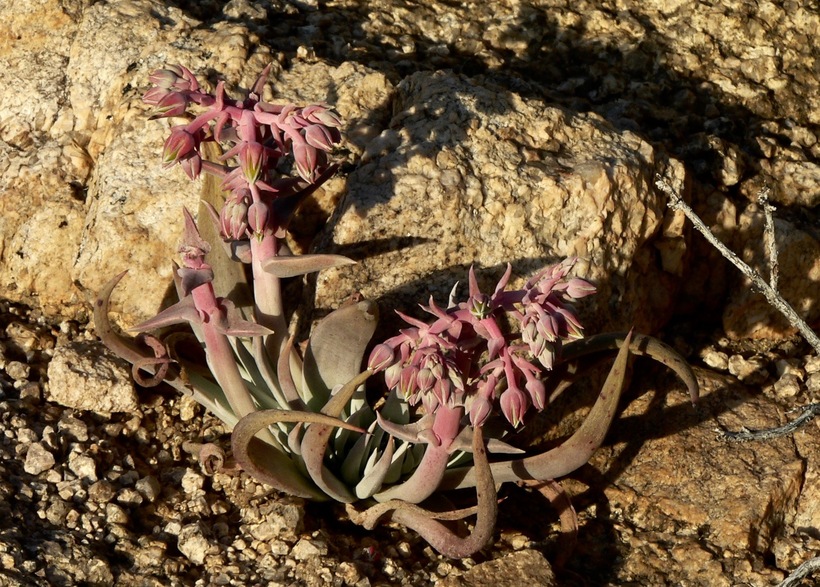
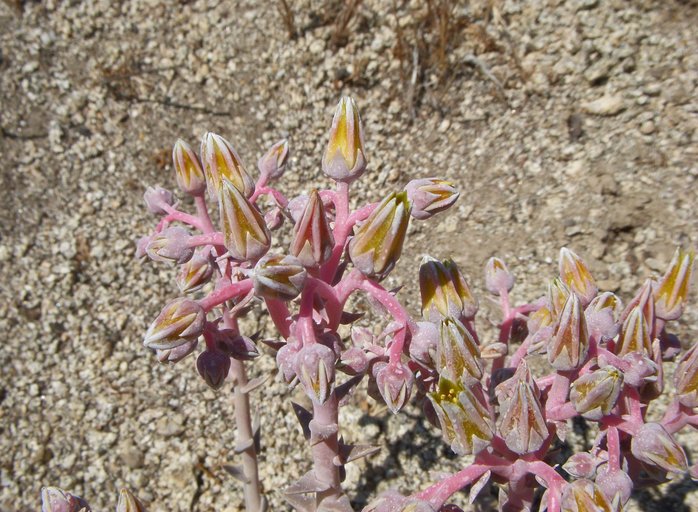
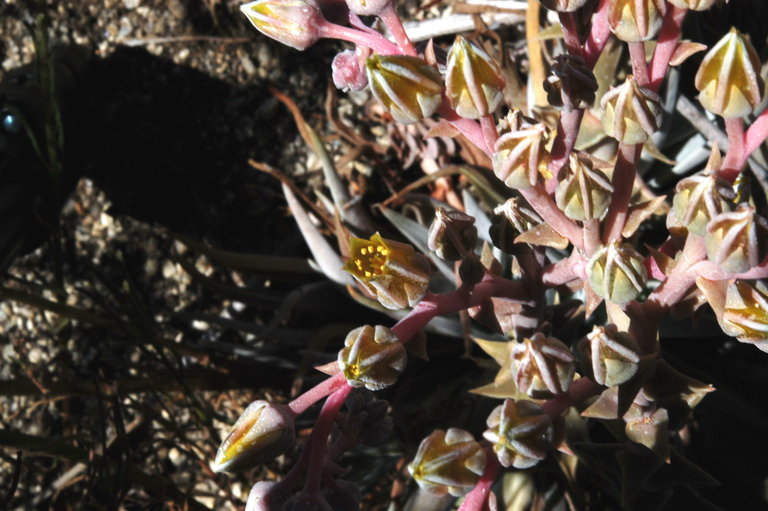
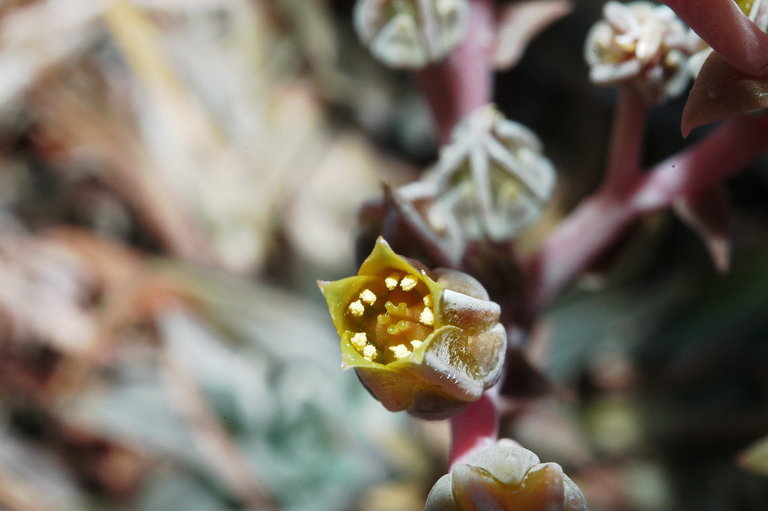
Panamint Dudleya
4 | 46 photos
Swipe
Photographed by
Keir Morse
View Copyright Note
Panamint Dudleya
5 | 46 photos
Swipe
Photographed by
Brent Miller
View Copyright Note
Panamint Dudleya
6 | 46 photos
Swipe
Photographed by
Gerald and Buff Corsi
View Copyright Note
Panamint Dudleya
7 | 46 photos
Swipe
Photographed by
Charles Webber
View Copyright Note
Panamint Dudleya
8 | 46 photos
Swipe
Photographed by
Gerald and Buff Corsi
View Copyright Note
Panamint Dudleya
9 | 46 photos
Swipe
Photographed by
Chris Wagner
View Copyright Note
Panamint Dudleya
10 | 46 photos
Swipe
Photographed by
Chris Wagner
View Copyright Note
Panamint Dudleya
11 | 46 photos
Swipe
Photographed by
Chris Wagner
View Copyright Note
Panamint Dudleya
12 | 46 photos
Swipe
Photographed by
Chris Wagner
View Copyright Note
Panamint Dudleya
13 | 46 photos
Swipe
Photographed by
James M. Andre
View Copyright Note
Panamint Dudleya
14 | 46 photos
Swipe
Photographed by
James M. Andre
View Copyright Note
Panamint Dudleya
15 | 46 photos
Swipe
Photographed by
James M. Andre
View Copyright Note
Panamint Dudleya
16 | 46 photos
Swipe
Photographed by
Robert Steers
View Copyright Note
Panamint Dudleya
17 | 46 photos
Swipe
Photographed by
Keir Morse
View Copyright Note
Panamint Dudleya
18 | 46 photos
Swipe
Photographed by
Keir Morse
View Copyright Note
Panamint Dudleya
19 | 46 photos
Swipe
Photographed by
Keir Morse
View Copyright Note
Panamint Dudleya
20 | 46 photos
Swipe
Photographed by
Keir Morse
View Copyright Note
Panamint Dudleya
21 | 46 photos
Swipe
Photographed by
Keir Morse
View Copyright Note
Panamint Dudleya
22 | 46 photos
Swipe
Photographed by
Keir Morse
View Copyright Note
Panamint Dudleya
23 | 46 photos
Swipe
Photographed by
Keir Morse
View Copyright Note
Panamint Dudleya
24 | 46 photos
Swipe
Photographed by
Keir Morse
View Copyright Note
Panamint Dudleya
25 | 46 photos
Swipe
Photographed by
Keir Morse
View Copyright Note
Panamint Dudleya
26 | 46 photos
Swipe
Photographed by
Keir Morse
View Copyright Note
Panamint Dudleya
27 | 46 photos
Swipe
Photographed by
Keir Morse
View Copyright Note
Panamint Dudleya
28 | 46 photos
Swipe
Photographed by
Keir Morse
View Copyright Note
Panamint Dudleya
29 | 46 photos
Swipe
Photographed by
Keir Morse
View Copyright Note
Panamint Dudleya
30 | 46 photos
Swipe
Photographed by
Keir Morse
View Copyright Note
Panamint Dudleya
31 | 46 photos
Swipe
Photographed by
Keir Morse
View Copyright Note
Panamint Dudleya
32 | 46 photos
Swipe
Photographed by
Jean Pawek
View Copyright Note
Panamint Dudleya
33 | 46 photos
Swipe
Photographed by
Neal Kramer
View Copyright Note
Panamint Dudleya
34 | 46 photos
Swipe
Photographed by
Jean Pawek
View Copyright Note
Panamint Dudleya
35 | 46 photos
Swipe
Photographed by
Neal Kramer
View Copyright Note
Panamint Dudleya
36 | 46 photos
Swipe
Photographed by
Neal Kramer
View Copyright Note
Panamint Dudleya
37 | 46 photos
Swipe
Photographed by
Neal Kramer
View Copyright Note
Panamint Dudleya
38 | 46 photos
Swipe
Photographed by
Neal Kramer
View Copyright Note
Panamint Dudleya
39 | 46 photos
Swipe
Photographed by
Jean Pawek
View Copyright Note
Panamint Dudleya
40 | 46 photos
Swipe
Photographed by
Jean Pawek
View Copyright Note
Panamint Dudleya
41 | 46 photos
Swipe
Photographed by
Gary A. Monroe
View Copyright Note
Panamint Dudleya
42 | 46 photos
Swipe
Photographed by
Gary A. Monroe
View Copyright Note
Panamint Dudleya
43 | 46 photos
Swipe
Photographed by
Drew Kaiser
View Copyright Note
Panamint Dudleya
44 | 46 photos
Swipe
Photographed by
Drew Kaiser
View Copyright Note
Panamint Dudleya
45 | 46 photos
Swipe
Photographed by
Jean Pawek
View Copyright Note
Panamint Dudleya
46 | 46 photos
Swipe
Photographed by
Gary A. Monroe
View Copyright Note
Find native plants
Search native plants
Find butterflies
Design & inspiration
Why native plants
Support wildlife
Save water
Adapt to climate change
Garden like nature
Garden gallery
Design ideas
Garden planner
Find nurseries
Care for your garden
Planning your garden
Plant selection
Planting your garden
Watering native plants
Weed & pest control
Find landscape professionals
About us
Our vision
Our data
About Calscape
Sign in
Translate
Donate