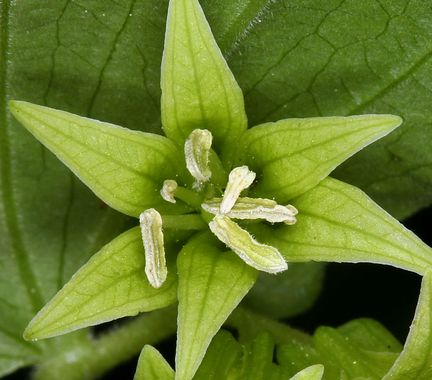

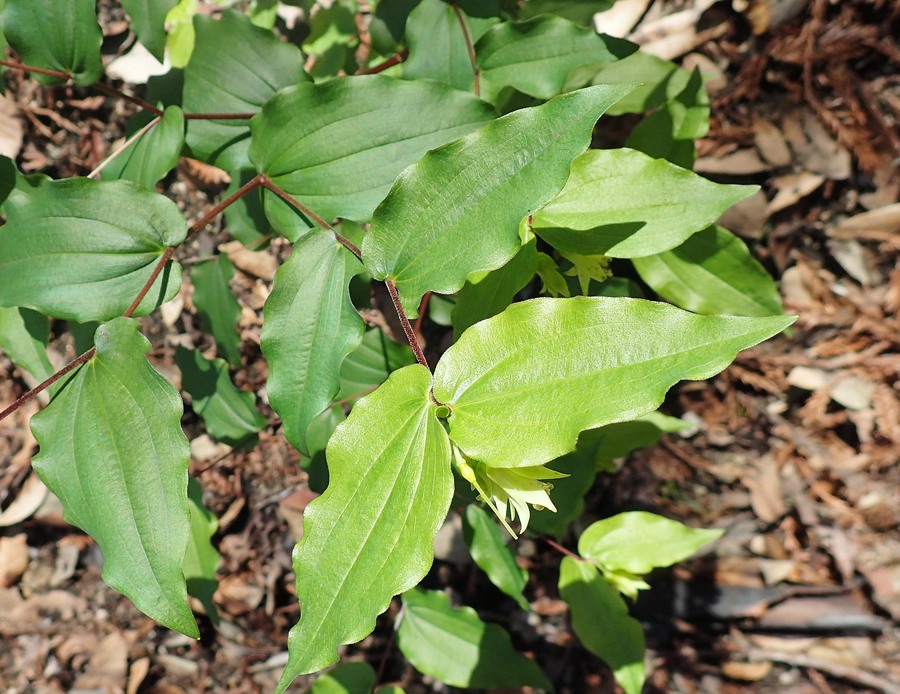


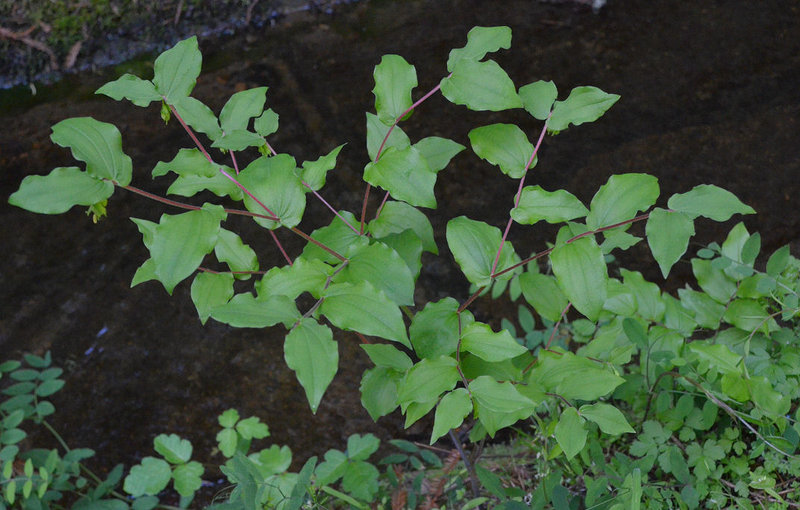


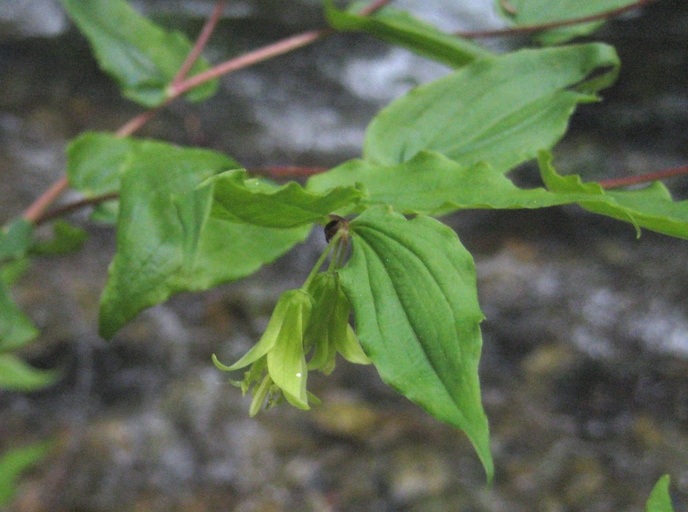


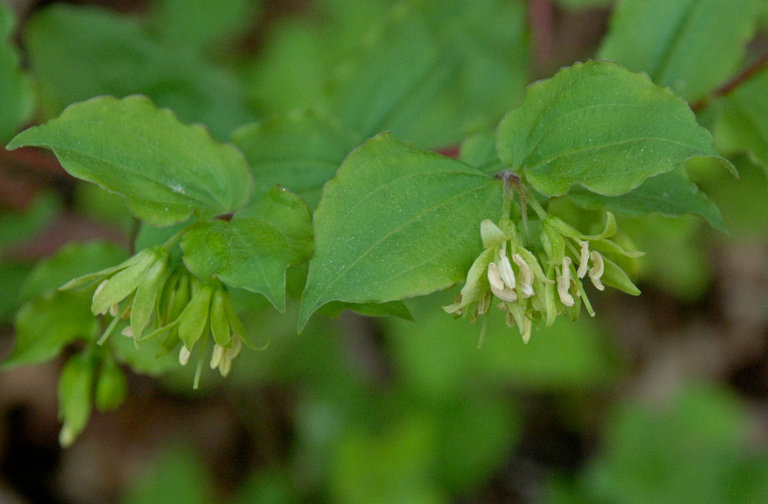
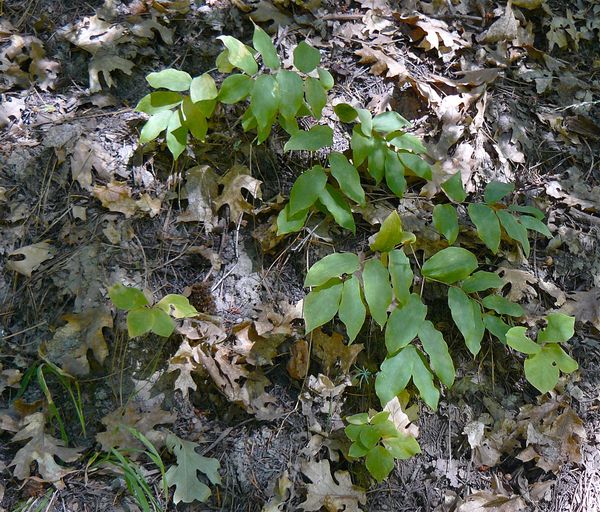

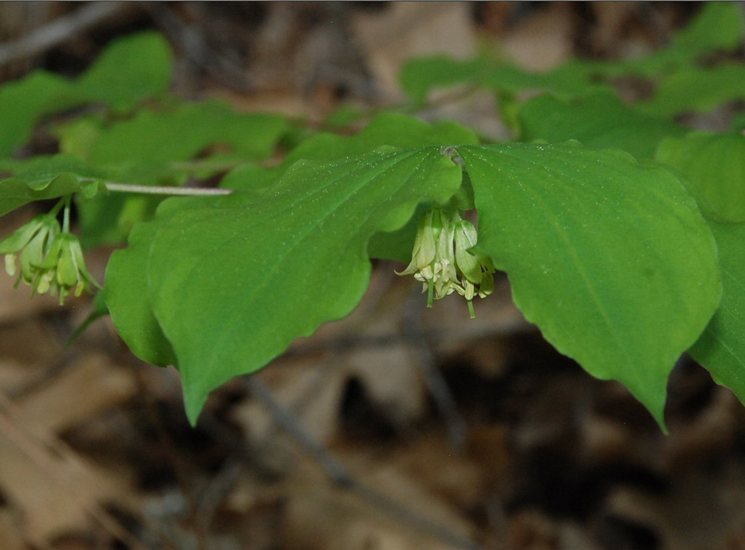


Hooker's Fairy Bell
1 | 60 photos
SwipePhotographed by
Steve Matson
© Copyright 2008 Steve Matson
View Copyright Note
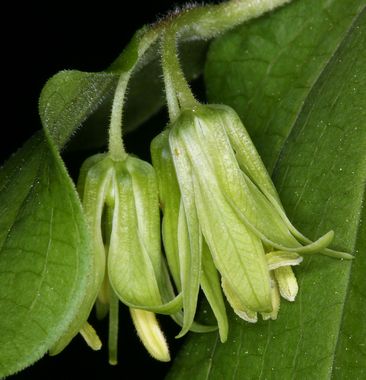
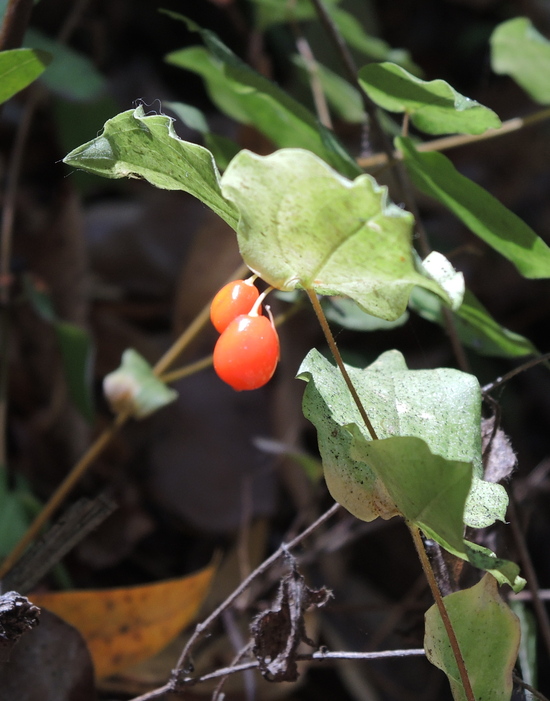
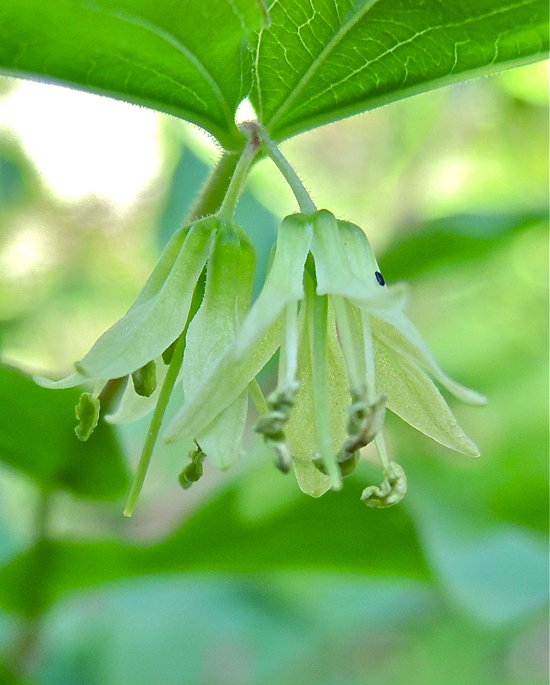
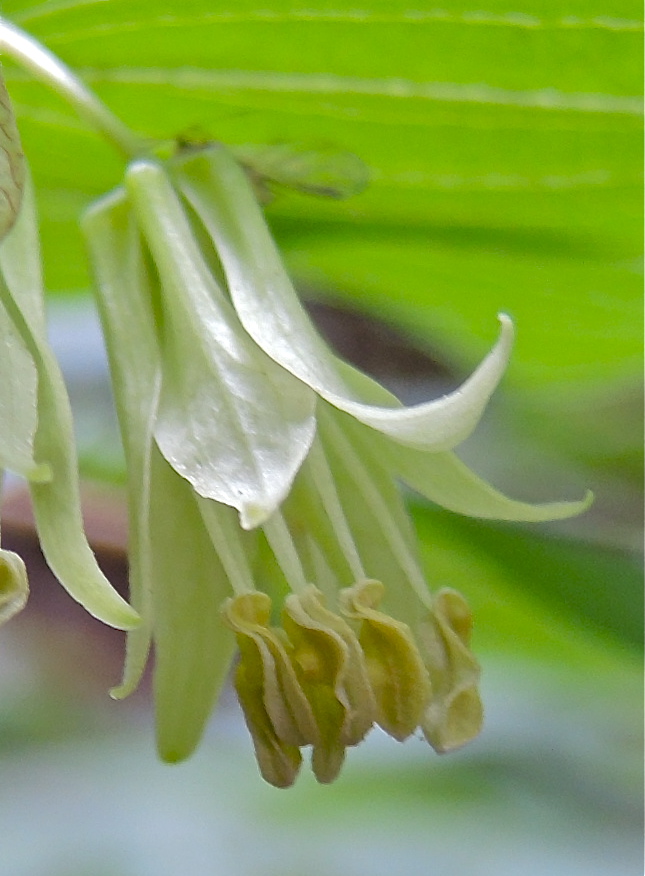
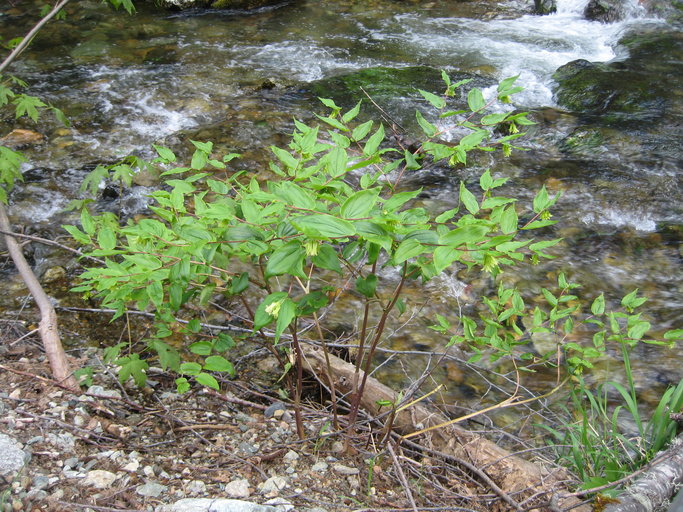
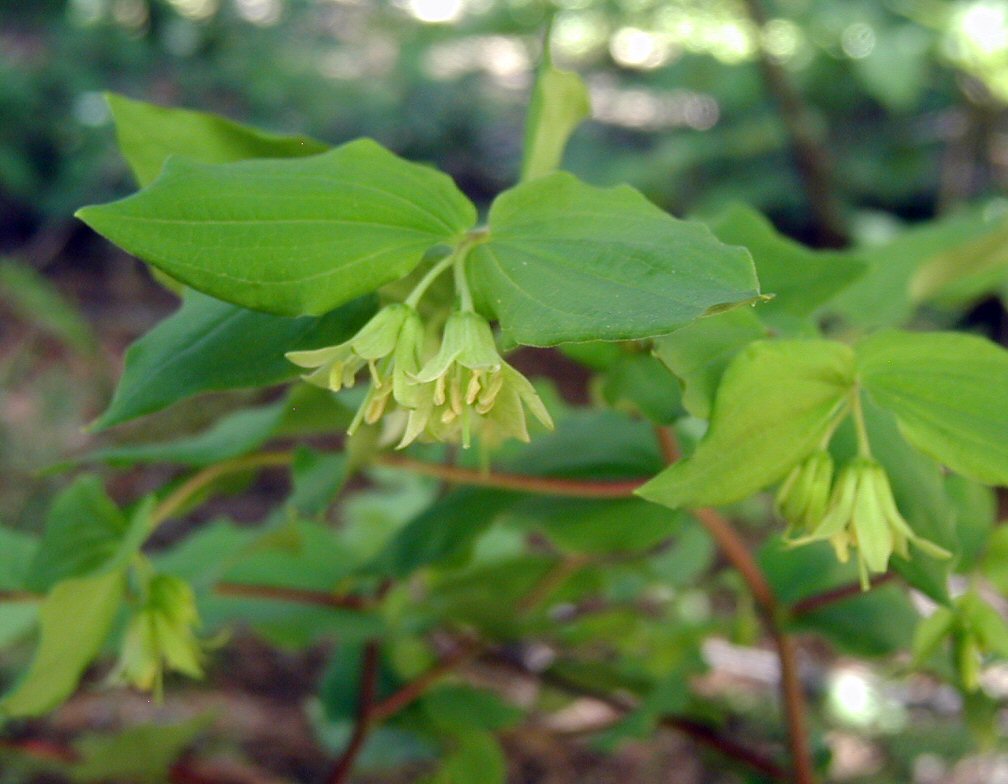
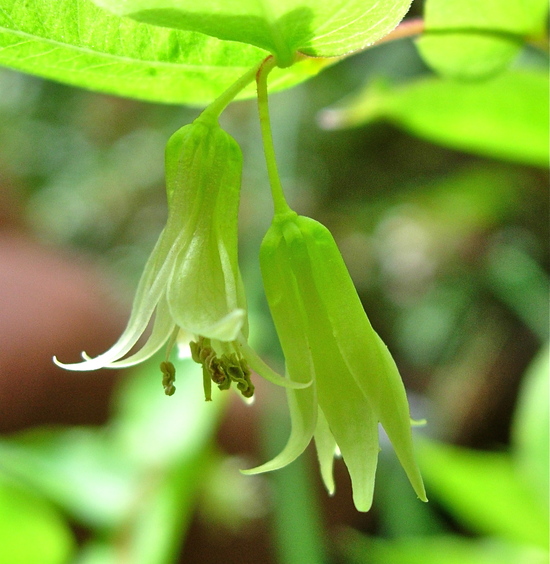
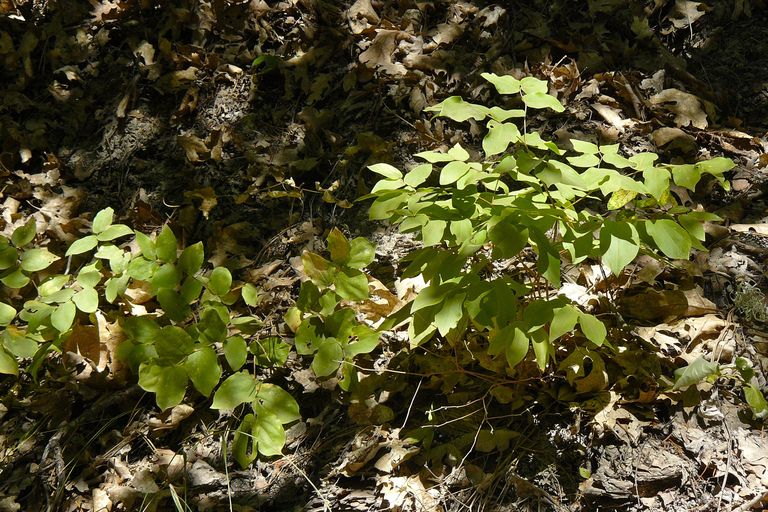
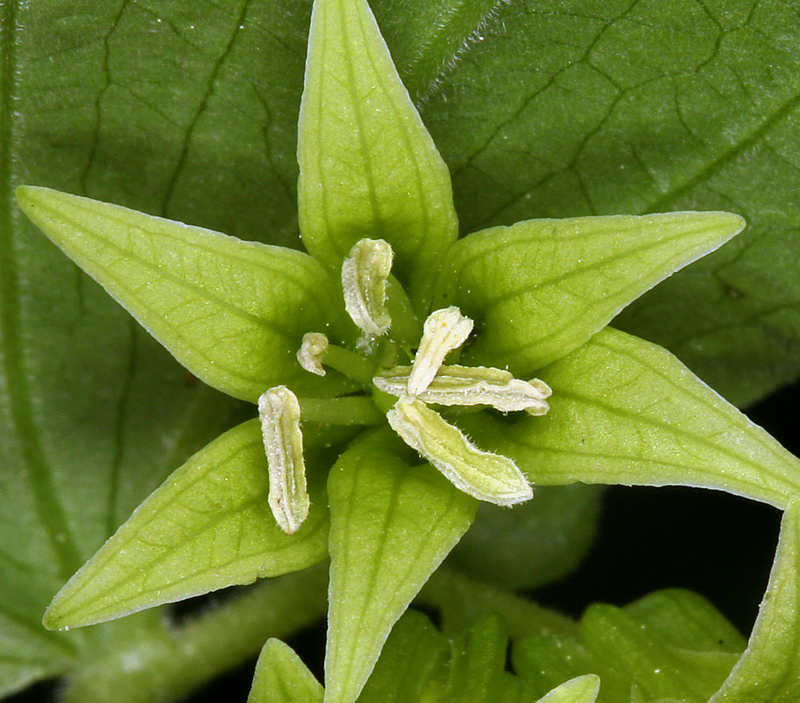
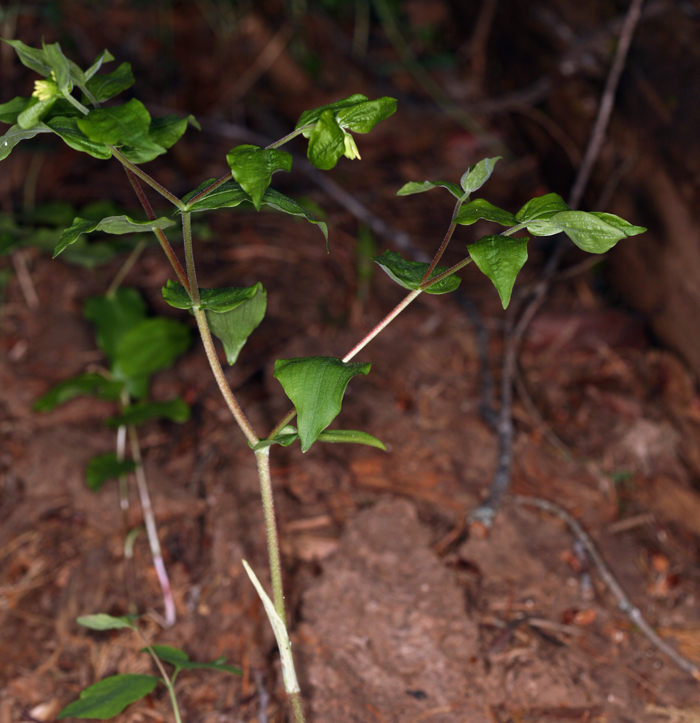
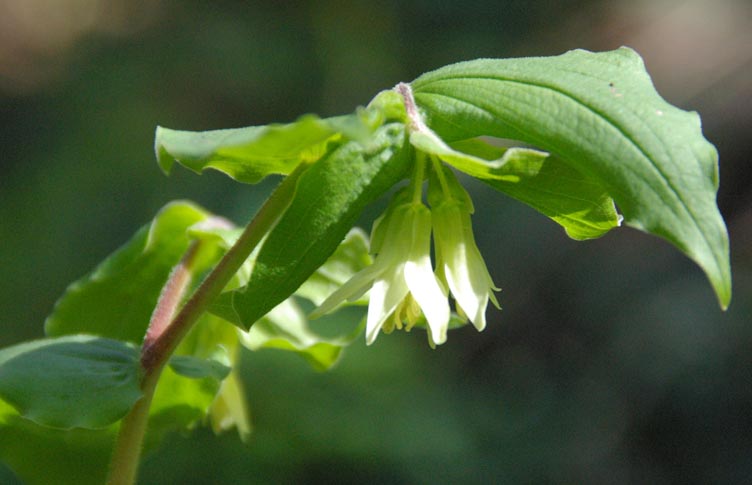
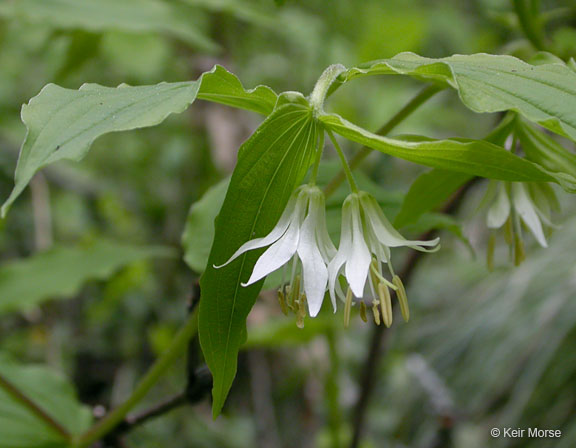
Hooker's Fairy Bell
2 | 60 photos
SwipePhotographed by
Steve Matson
© Copyright 2008 Steve Matson
View Copyright Note
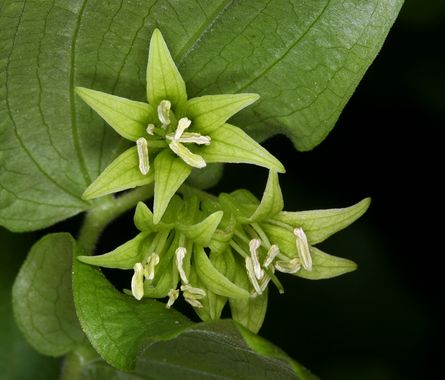
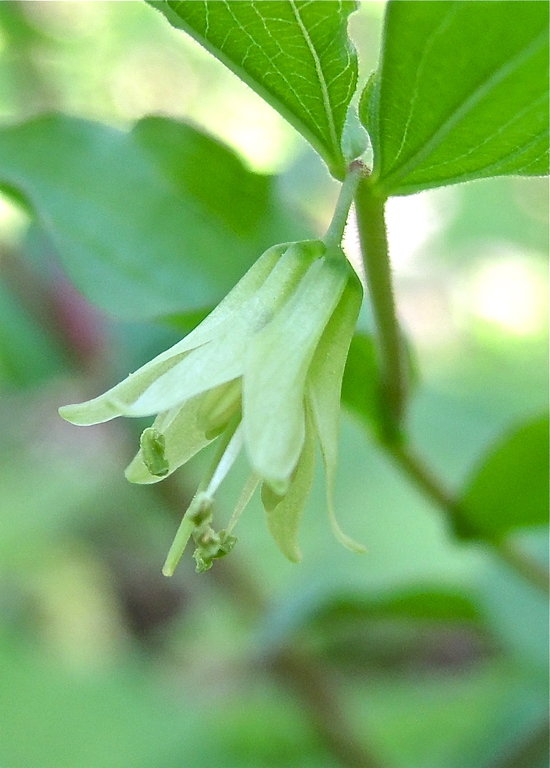
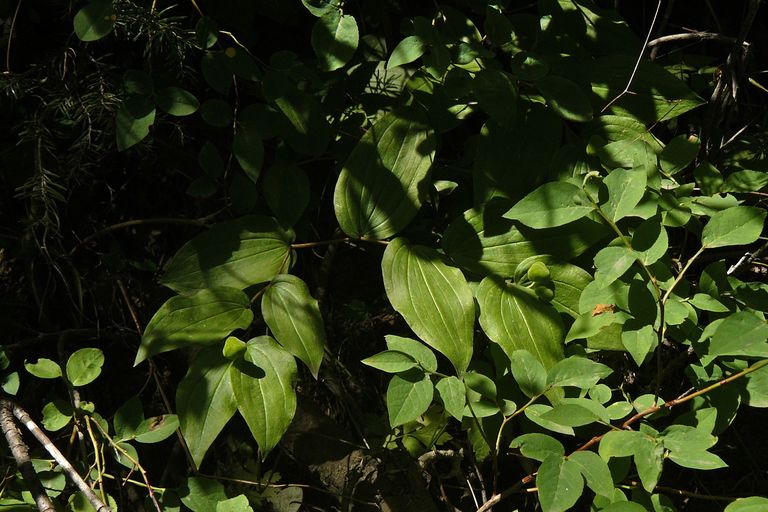
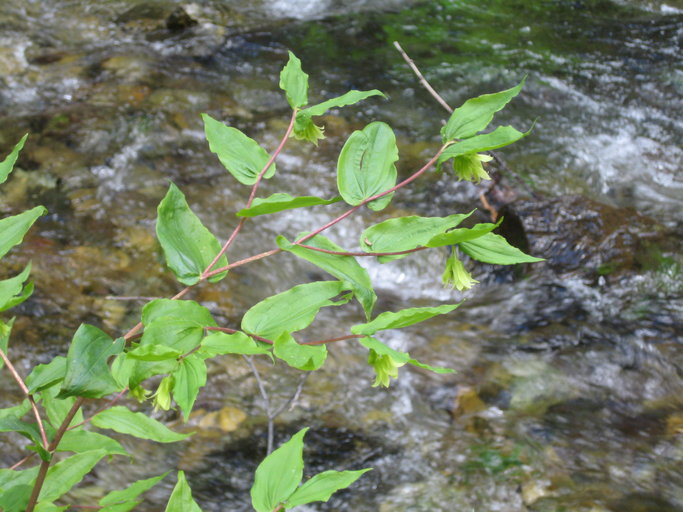
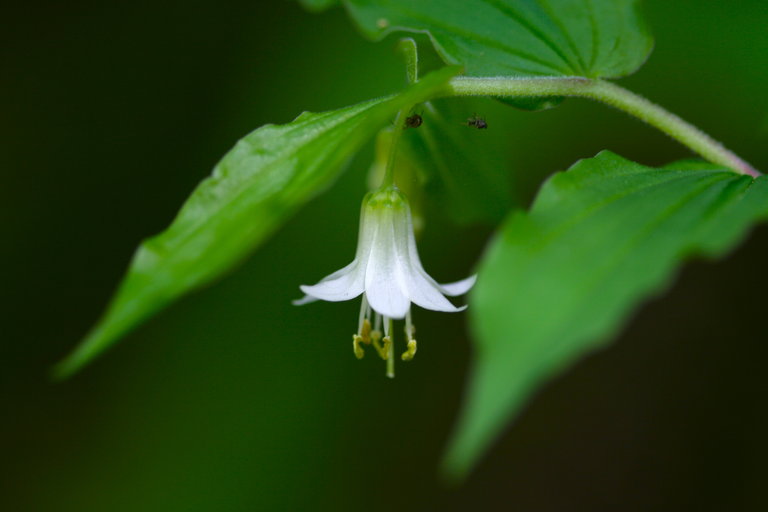
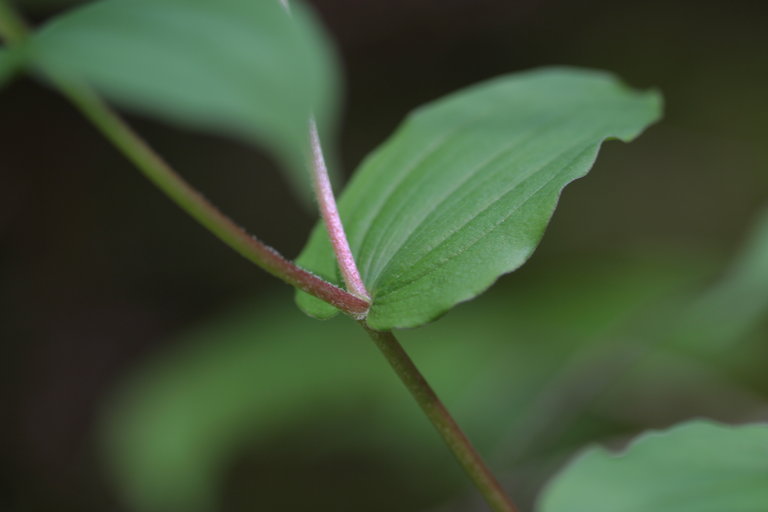
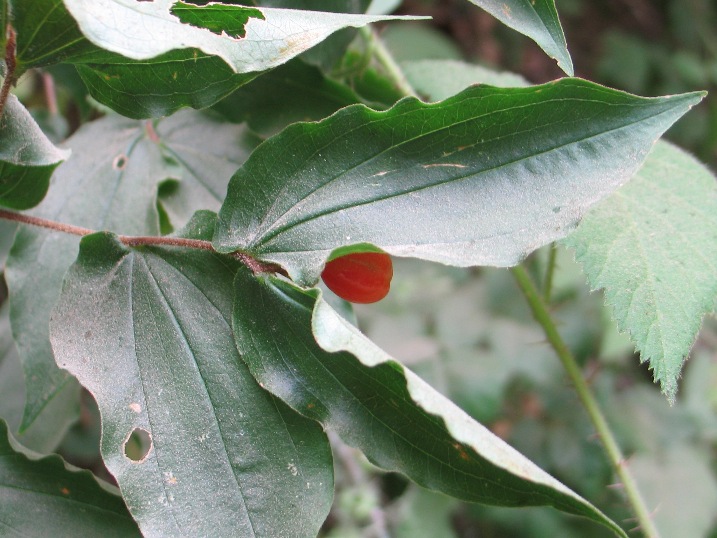
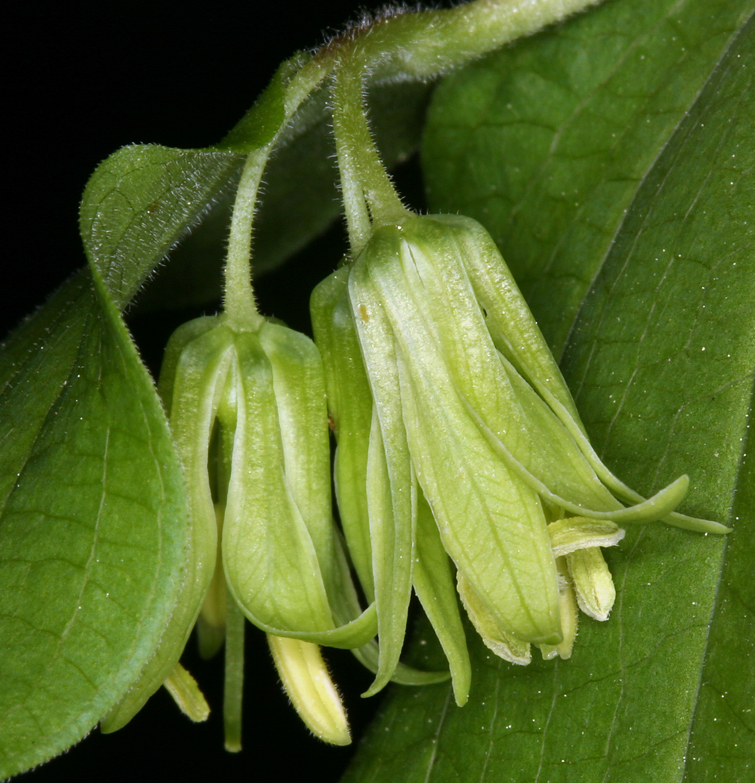
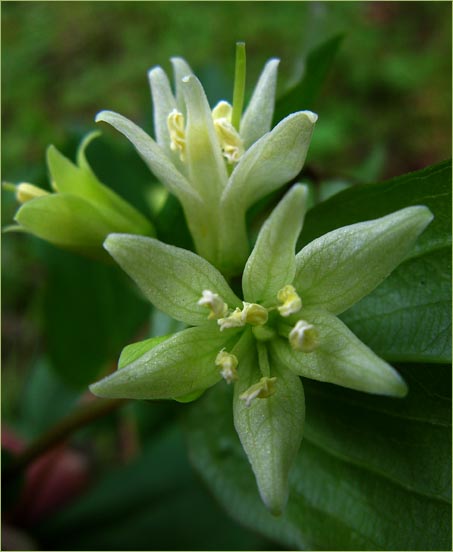
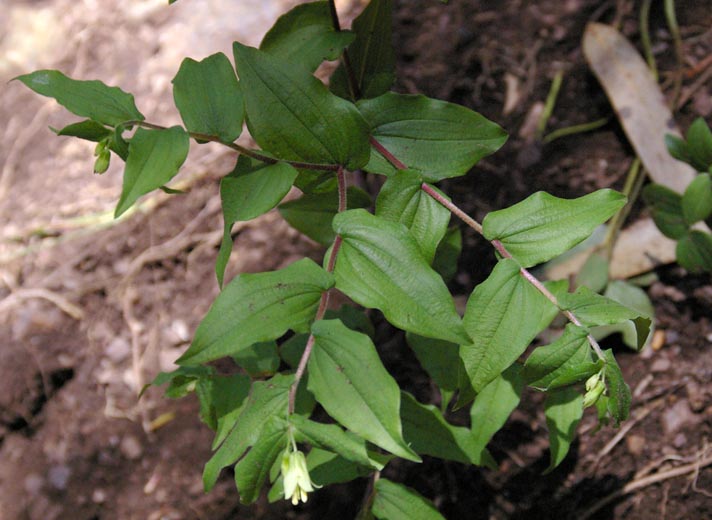
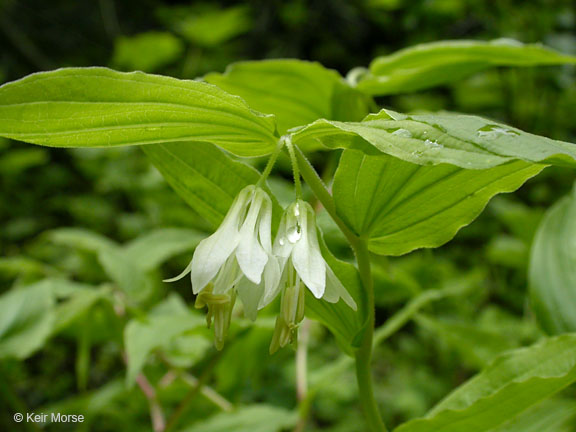
Hooker's Fairy Bell
3 | 60 photos
SwipePhotographed by
Steve Matson
© Copyright 2008 Steve Matson
View Copyright Note
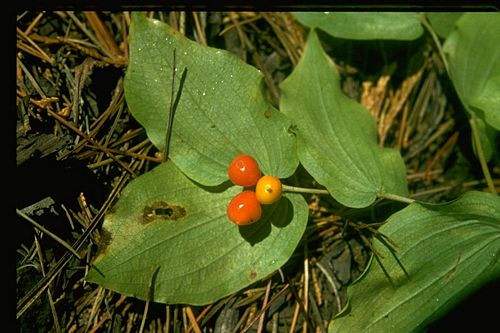
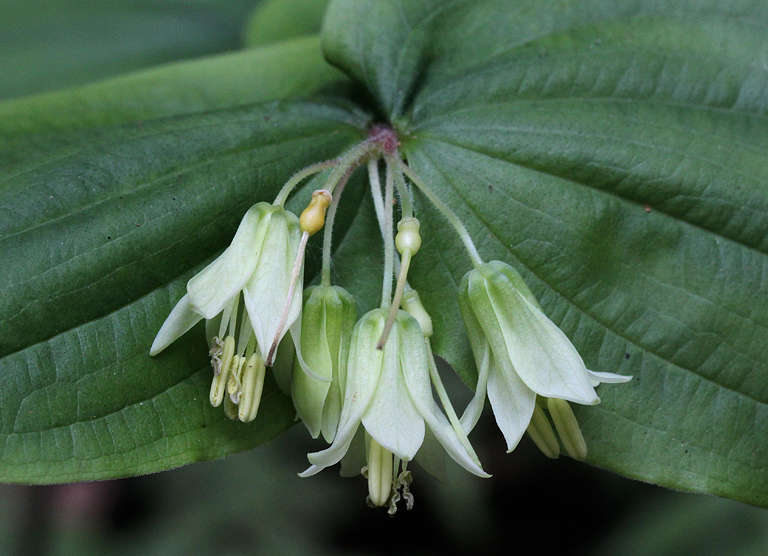
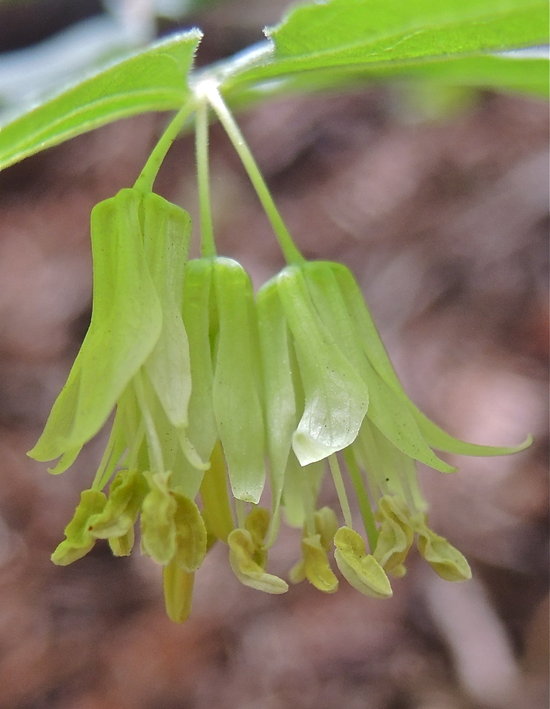
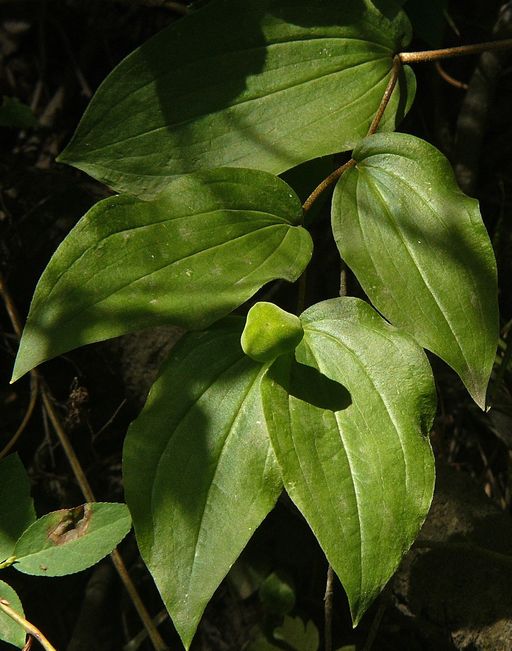
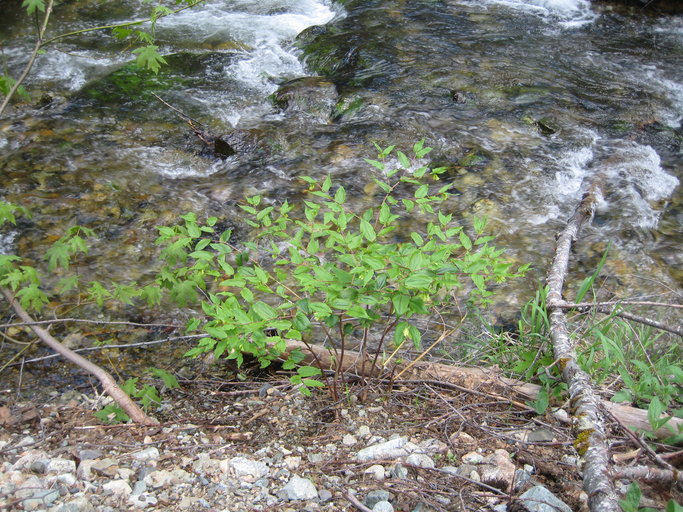
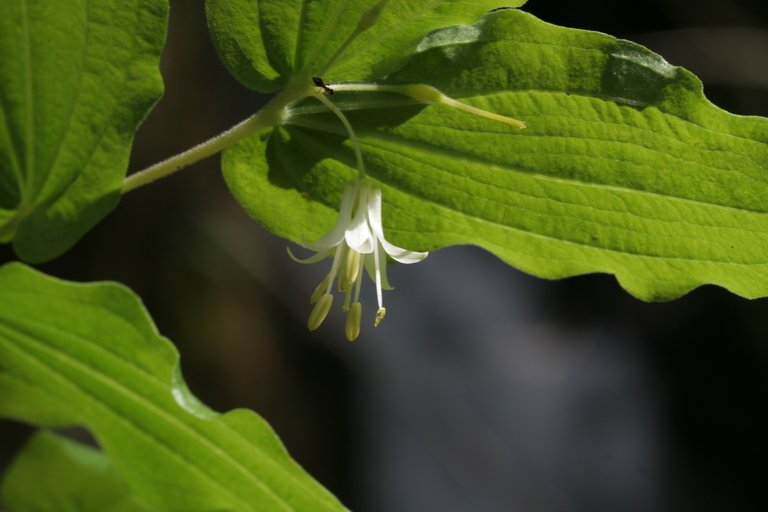
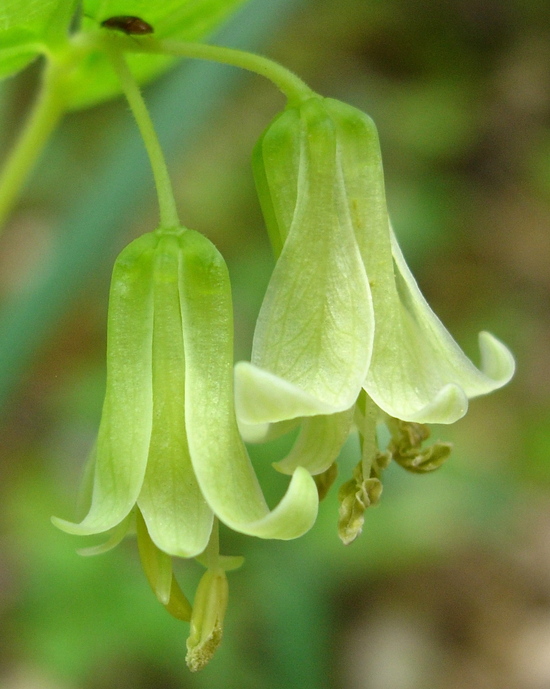
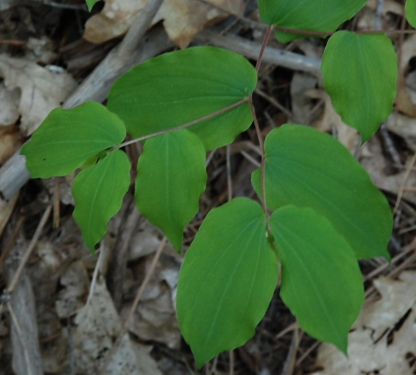
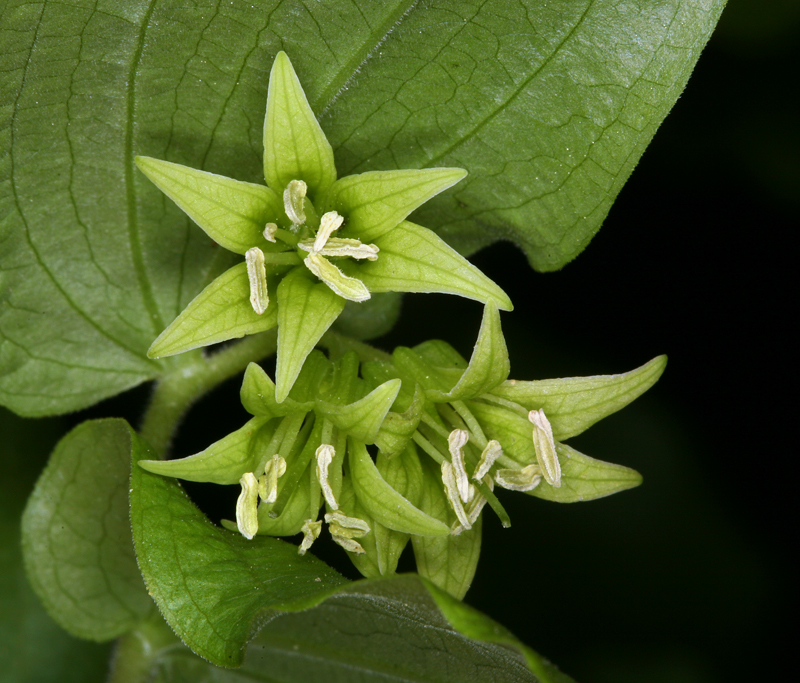
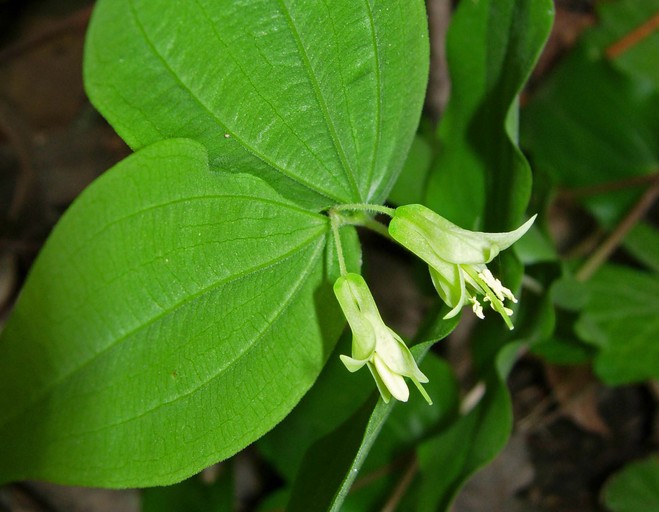
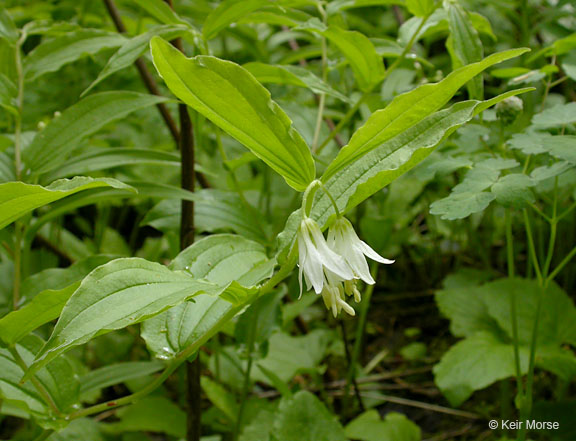
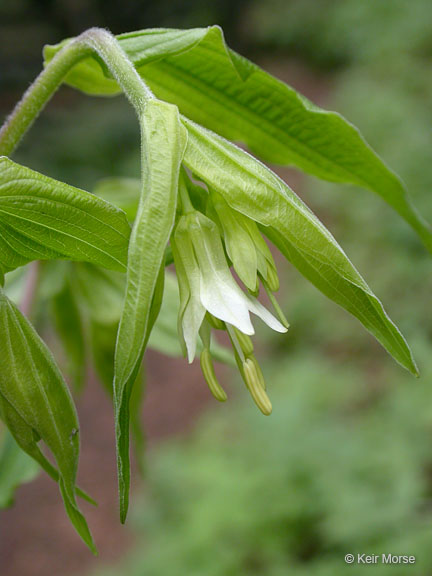
Hooker's Fairy Bell
4 | 60 photos
SwipePhotographed by
Barry Breckling
© 2010 Barry Breckling
View Copyright Note
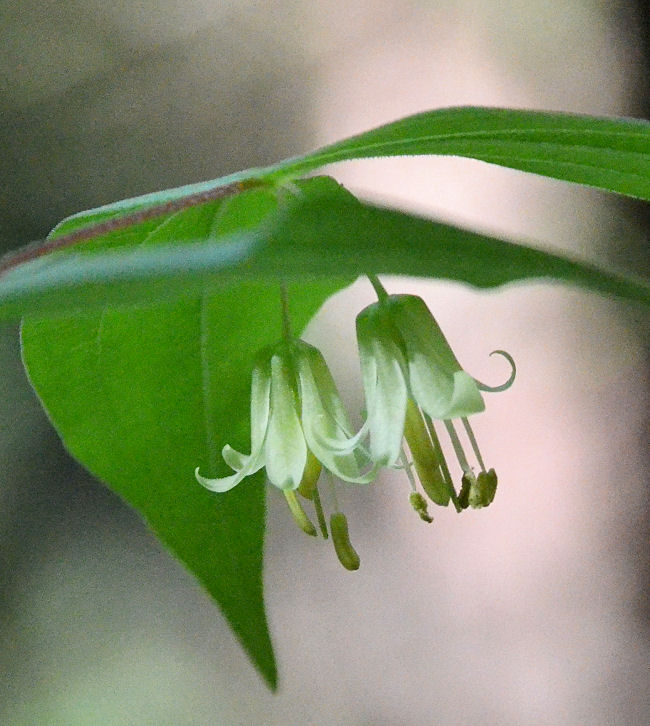
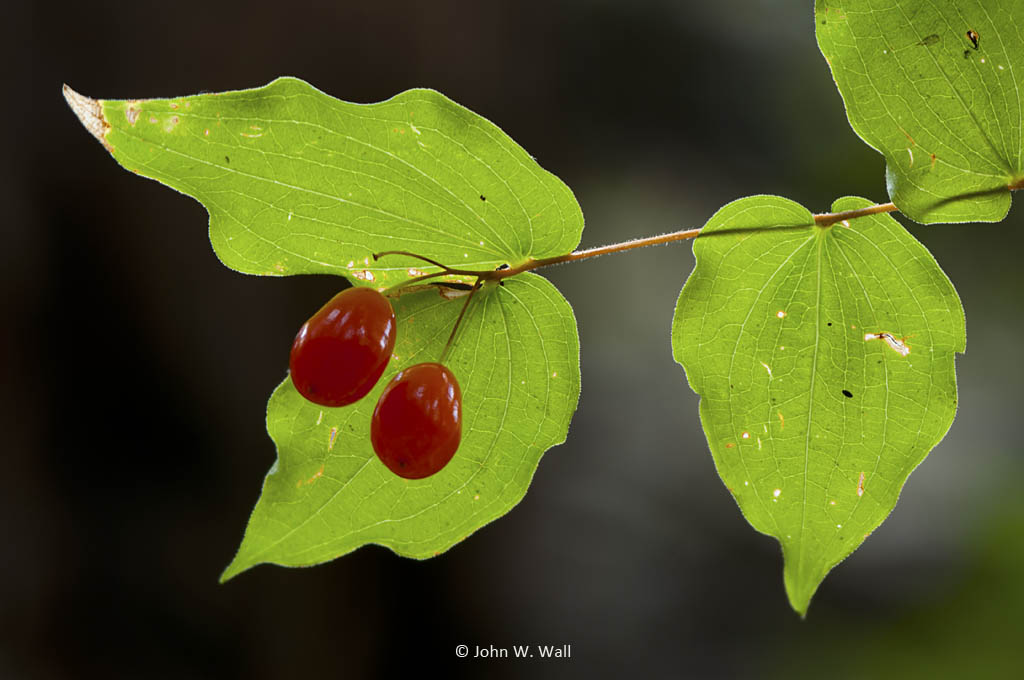
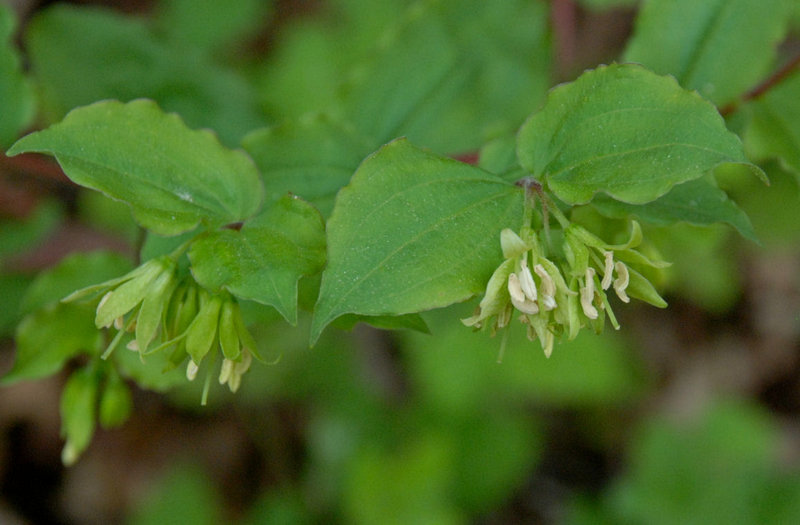
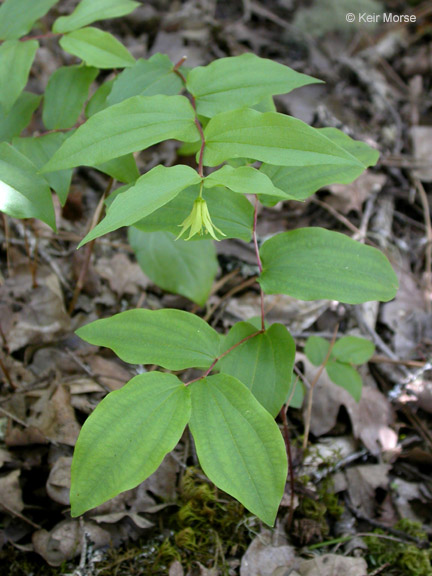
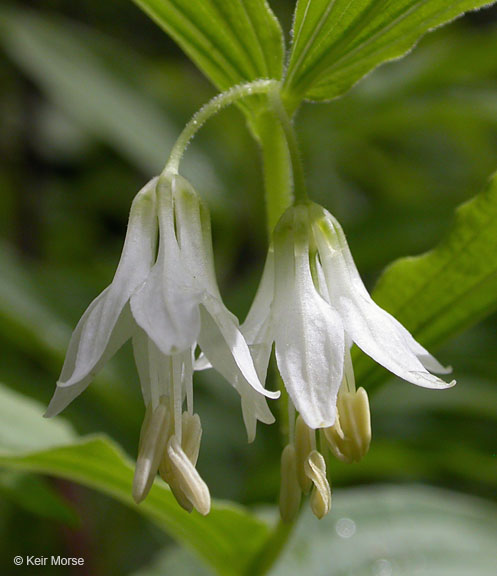
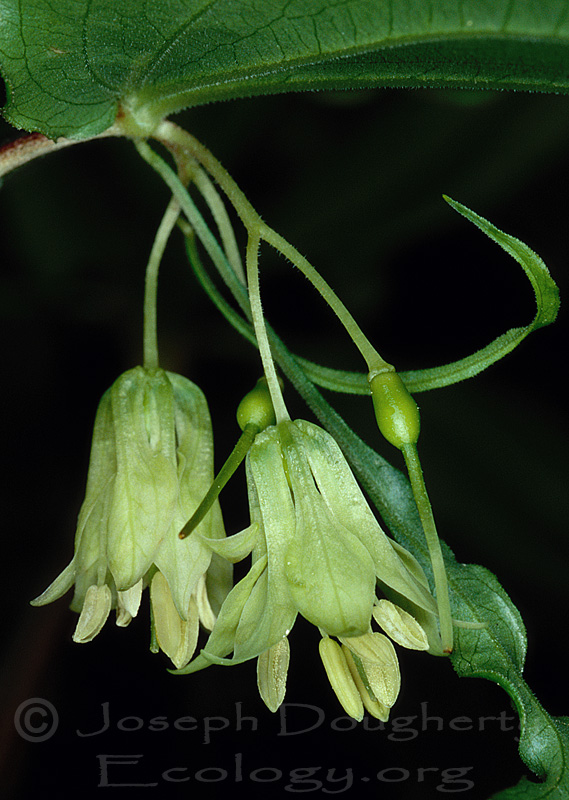
Hooker's Fairy Bell
5 | 60 photos
SwipePhotographed by
Brother Alfred Brousseau
© 1995 Saint Mary's College of California
View Copyright Note